Stumpwork embroidery: how the volume is actually built, stitch by stitch
August 17, 2026
Contents
- Stumpwork embroidery: when the stitch leaves the fabric
- A history of stumpwork embroidery, from 15th-century Europe to 1650s England
- The four ways to build volume in raised embroidery
- Stitched padding
- Felt layers
- Wired slips
- Needlelace
- The order of work in stumpwork embroidery
- The materials of raised embroidery
- Common mistakes in stumpwork embroidery
- Contemporary raised embroidery on canvas
- Questions people ask
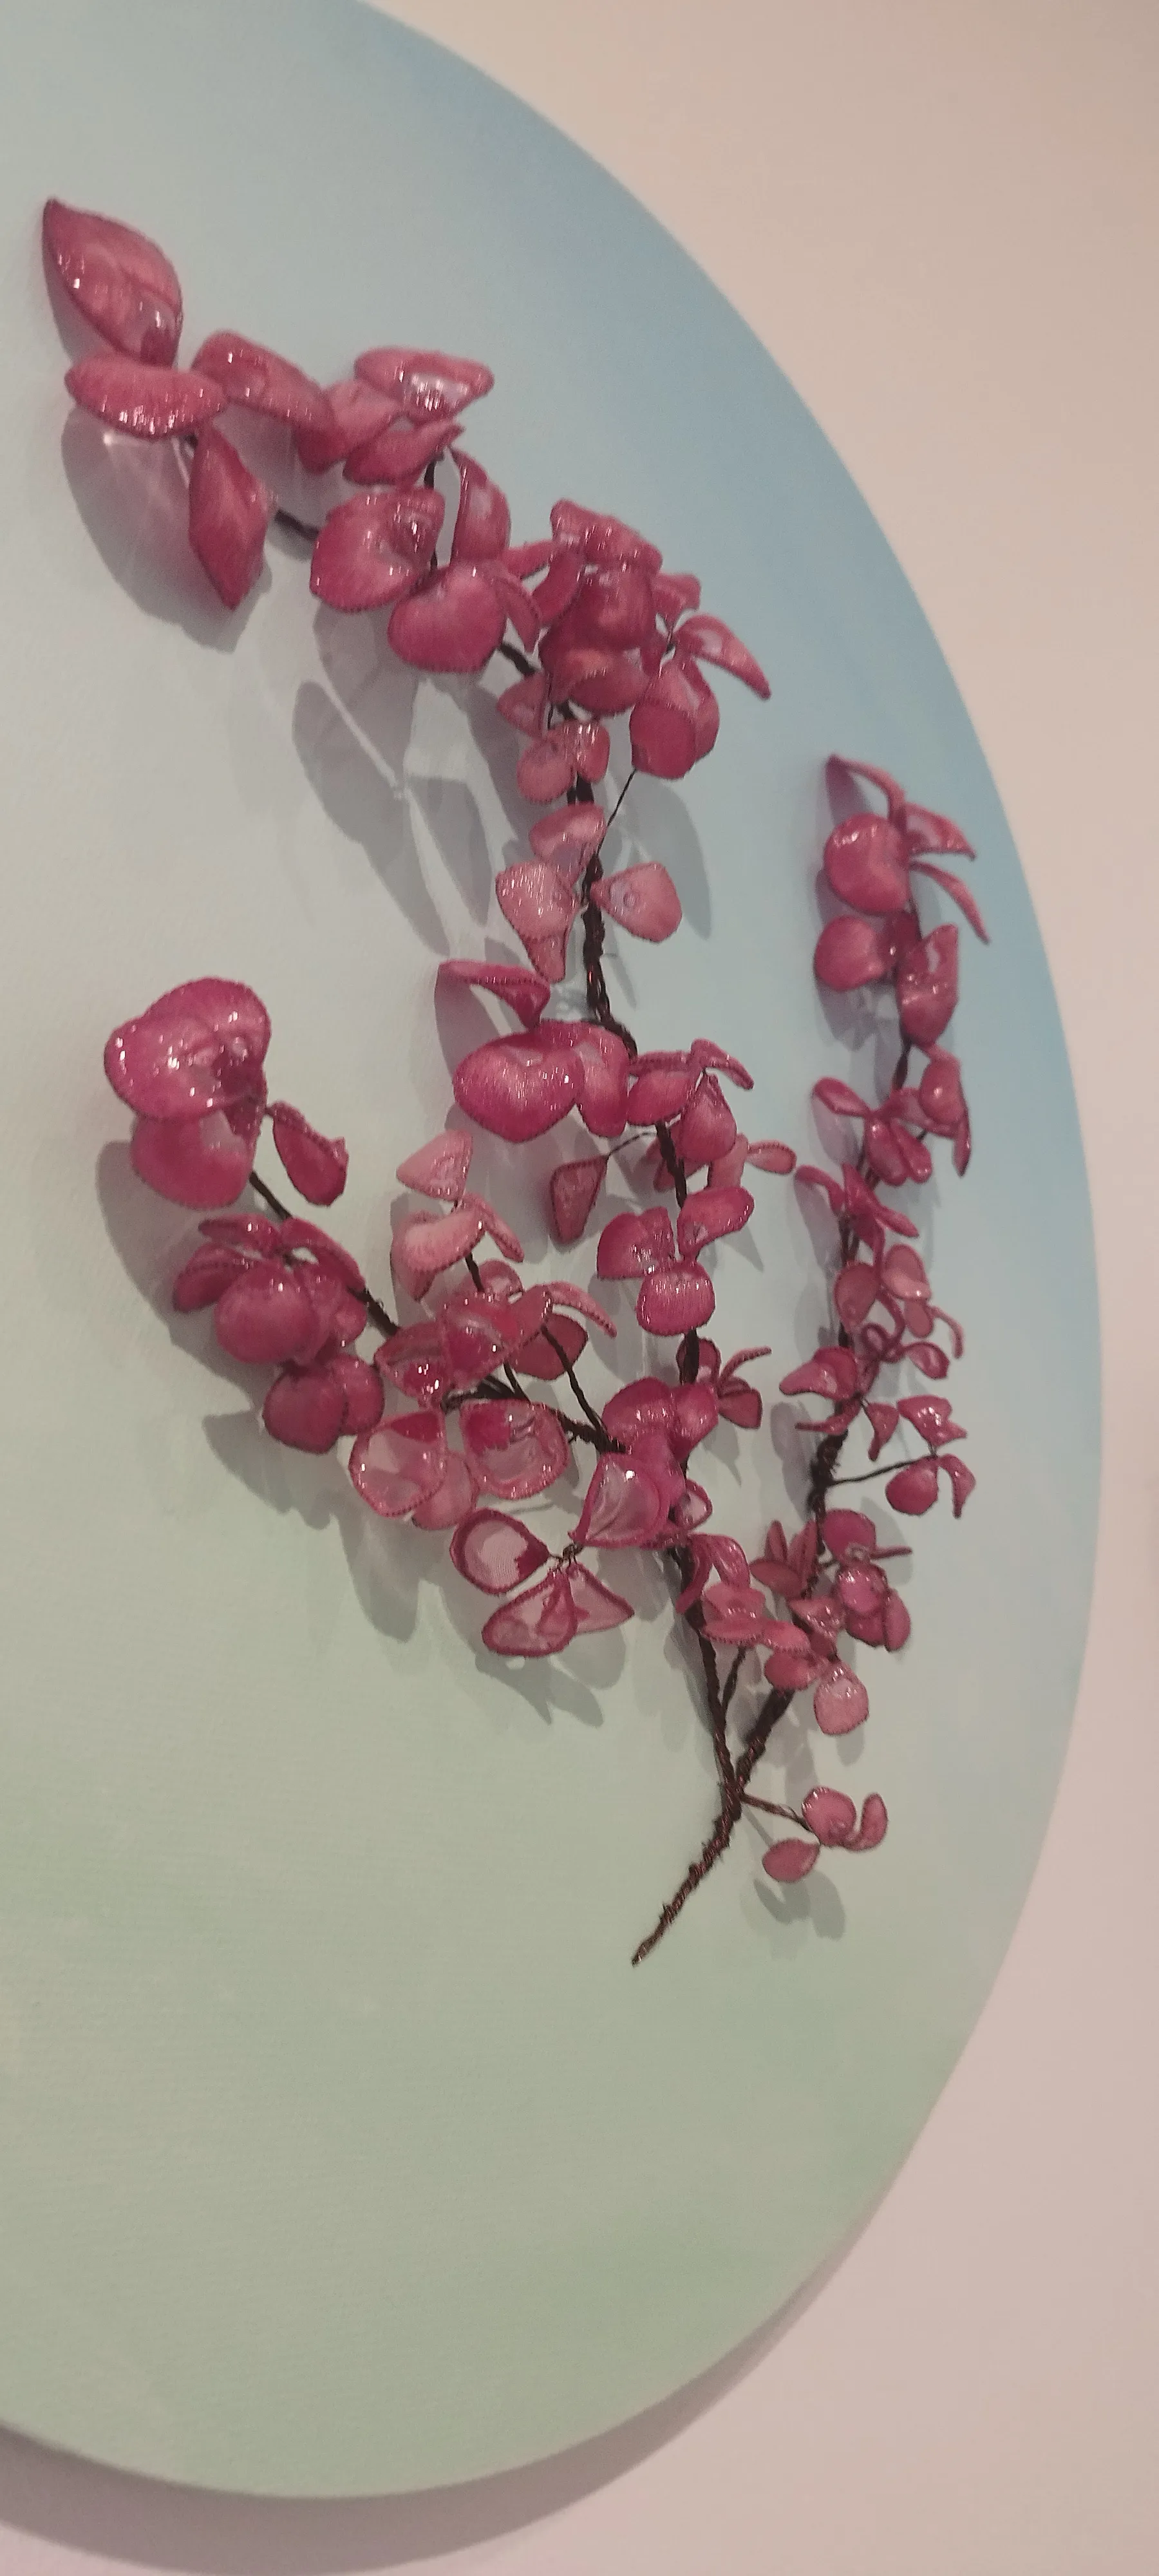
Light an embroidery from the side, a lamp level with the fabric. If the image stays the same, it is flat embroidery. If shadows rise, if a petal lifts away from the ground and a wing carries its own light, it is raised embroidery. Everything I make belongs to that second family, and this article explains what the definitions rarely tell you: how that volume is actually built, stitch by stitch.
Stumpwork embroidery: when the stitch leaves the fabric
Flat embroidery draws in the plane: the stitches lay thread on fabric, and the image works through colour and direction. Raised embroidery, which English calls stumpwork, adds the third dimension: padded areas that swell, stiffened elements that lift, sometimes whole pieces detached from the ground. The difference is not decorative, it is optical: a volume casts a real shadow, one that moves with the daylight, which no shaded thread gradient can imitate.
A history of stumpwork embroidery, from 15th-century Europe to 1650s England
The technique appears in Europe from the 15th century, notably on church embroidery, under names like broderie en relief and embossed work. Its golden age is English: around 1650, well-born young women covered caskets, mirror frames and panels with raised scenes full of insects, fruit and royal figures. Under Cromwell’s republic, the motifs even worked as a discreet language: the caterpillar and the butterfly stood for Charles I, the oak for Charles II. The word stumpwork itself is a 19th-century invention; at the time, people simply said raised work.
The four ways to build volume in raised embroidery
This is the heart of the matter. All embroidered relief rests on one of these four mechanisms, often combined in a single piece.
Stitched padding
The simplest volume is built with thread alone: layers of padding stitches (straight or laid), worked across the shape, then covered with satin stitch in the final direction. Each layer crosses the one below; that crossing is what makes a firm dome rather than a soft mattress. A cord couched under the edge gives, at little cost, a crisp ridge that catches the light.
Felt layers
For higher volume, you stack pieces of wool felt cut in decreasing sizes: the smallest goes down first, the largest on top, each held by small stab stitches. The order is counter-intuitive and decisive: it is the final large piece, stretched over the small ones, that makes a smooth dome. You then embroider over it, and the felt disappears under the stitches.
Wired slips
This is the signature of stumpwork: wings, petals and leaves that lift away from the ground. The element is embroidered separately, on its own stretched fabric: a fine wire (gauge 26 to 32) is couched along the outline, secured with overcast or buttonhole stitch, the inside is filled (often in thread painting), then the shape is cut out flush with the buttonholed edge. The wire tails pass through the ground fabric via a hole made with an awl and are secured on the back. The element can then be curved with the fingertips, and it holds the pose.
Needlelace
The oldest and most forgotten of the four: whole surfaces built in detached buttonhole stitch, row upon row, attached to the fabric only at their edges. The lace made this way can stay supple, lift like a miniature garment, or cap a padded shape. It is the queen technique of the 17th-century caskets, and almost nobody teaches it any more.
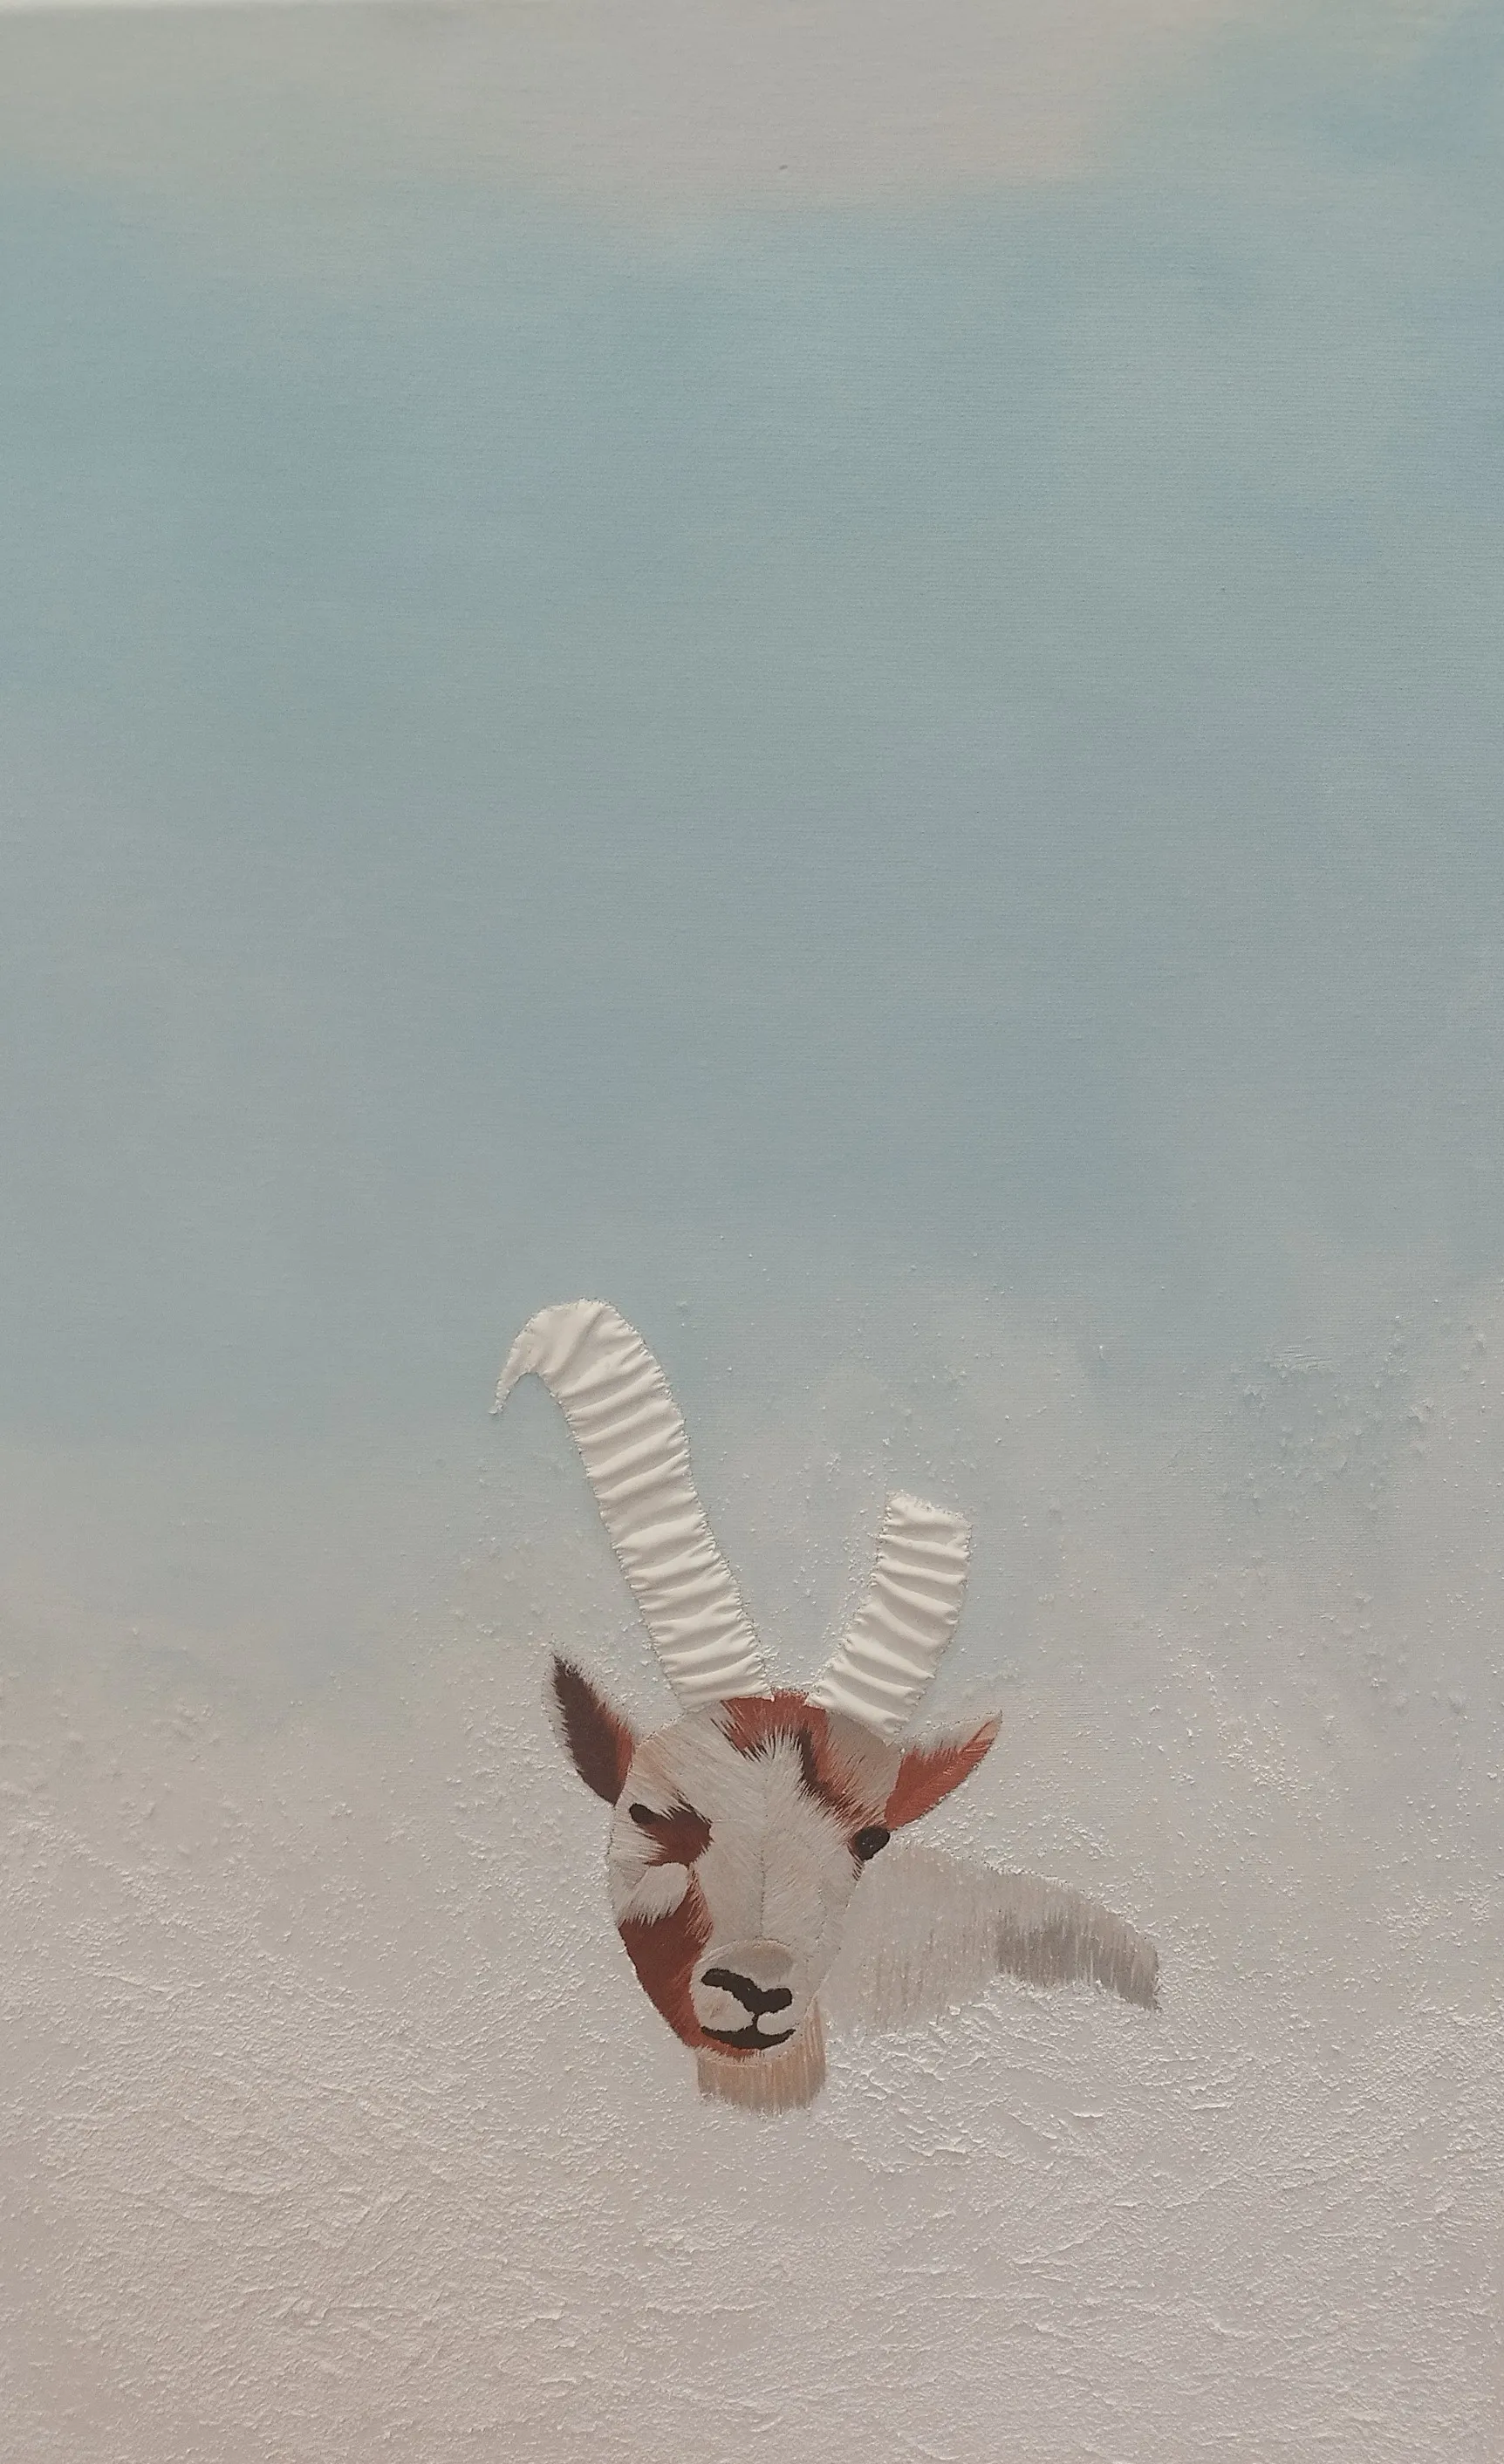
The ibex horns, in pleated satin worked in relief
The order of work in stumpwork embroidery
Relief imposes a strict chronology, because you can no longer embroider behind a volume:
- All the flat work first: grounds, stems, embroidered cast shadows.
- The padding next, from lowest to highest.
- The surface textures (knots, loops) on and around the volumes.
- The detached elements last of all: cut out, plunged, secured. A wing applied too early gets crushed by all the work that follows.
The materials of raised embroidery
The old inventories read like dreams: purl, chenille, pearls, coral, mother-of-pearl, wax, even carved boxwood shapes slipped under the silk. The modern kit is more sober and fits in a small box: a tight, backed ground fabric, wool felt (synthetic felt melts under the iron and crumbles when cut), fine wire, and the threads of flat embroidery. Relief then accepts everything embroidery can carry: beads and sequins applied with the Lunéville hook, feathers, leather.
Common mistakes in stumpwork embroidery
- A ground that is too loose. Volume pulls hard on few stitches; without dense fabric and a backing, the ground puckers around every dome.
- Felt stacked in the wrong order (large piece first): the dome comes out stepped instead of smooth.
- A cutting edge stitched too sparsely on wired elements: the fabric frays right at the buttonholed edge. Tighten the stitches, cut with fine scissors, never a blade.
- Visible wire: it must be covered stitch by stitch, and its tails plunged then hidden under the ground embroidery.
- Relief everywhere. Volume only reads by contrast with flat areas; a piece that is all dome looks flat again.
Contemporary raised embroidery on canvas
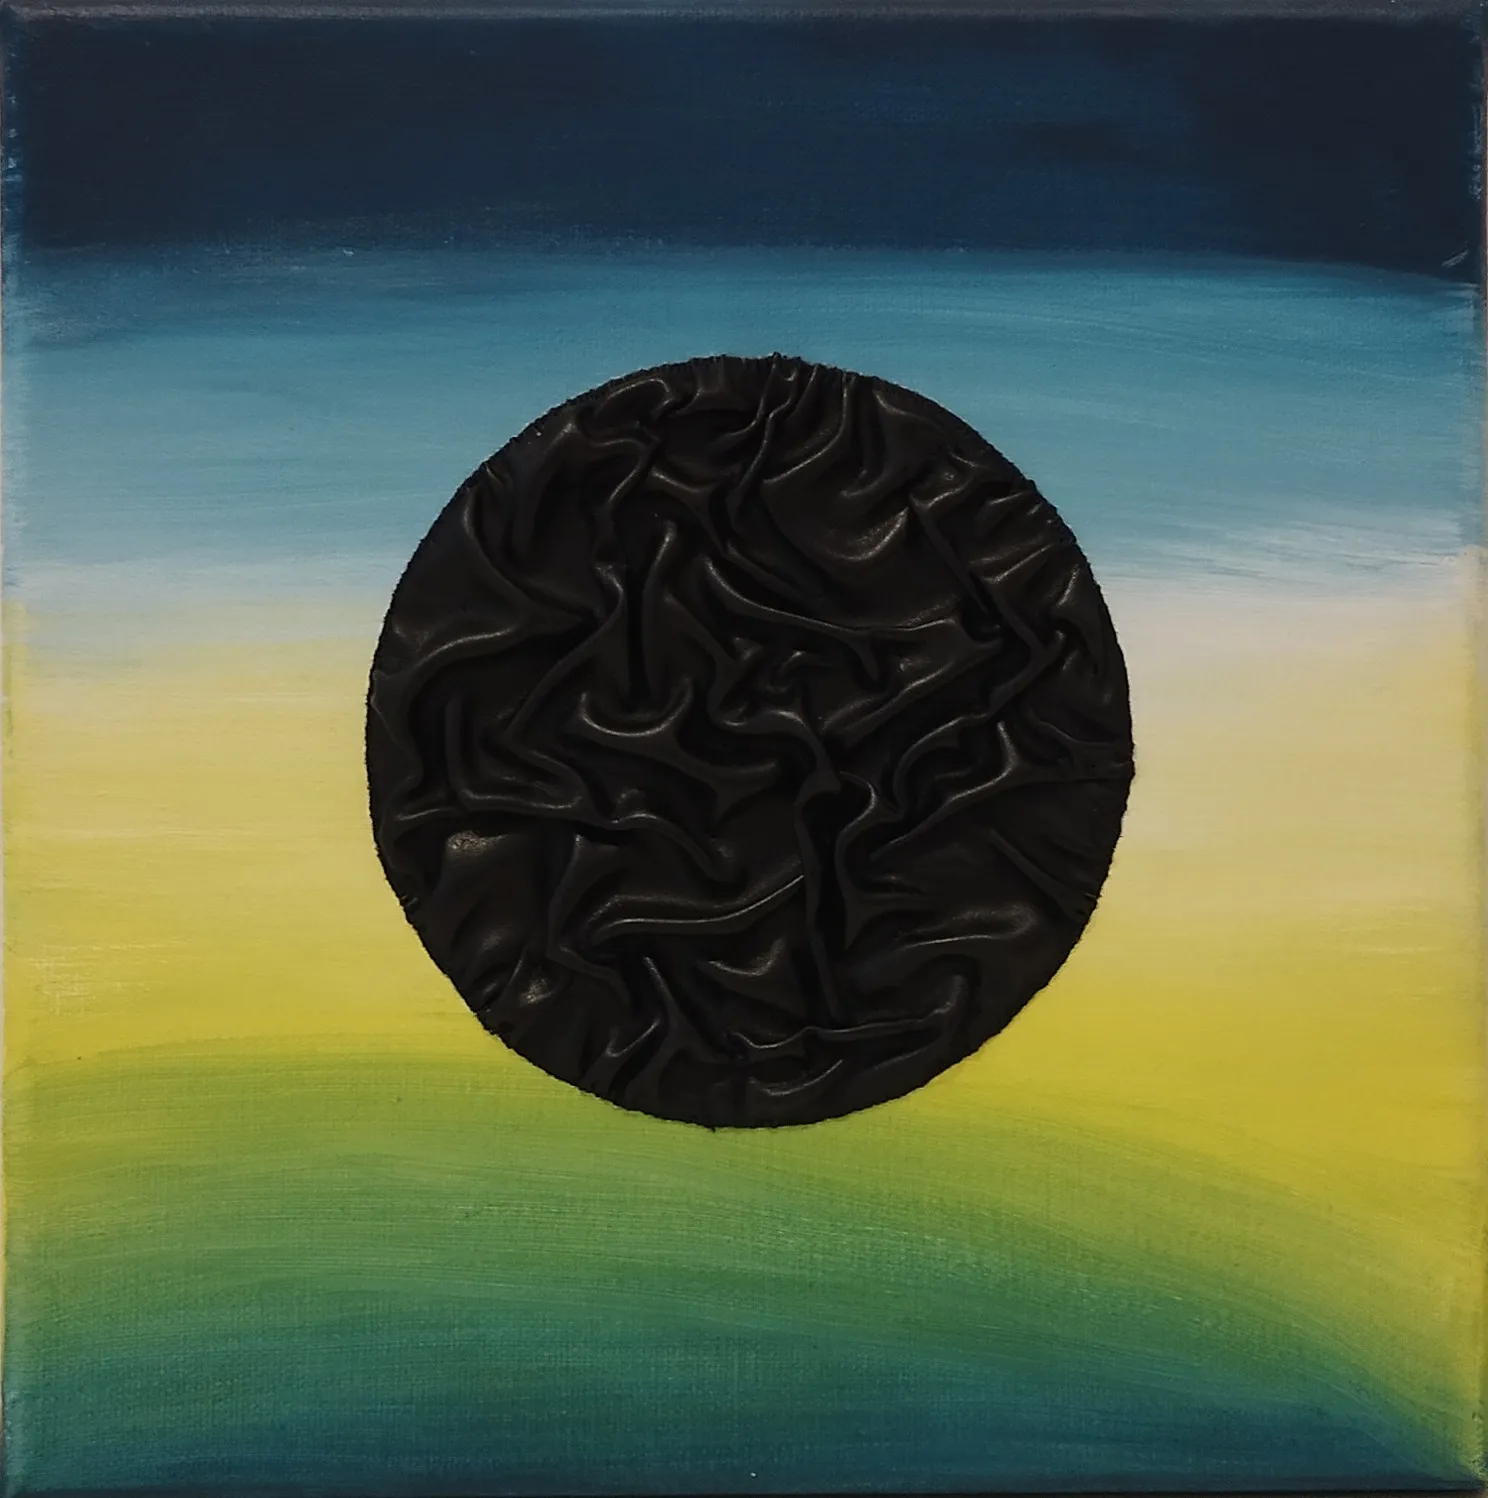
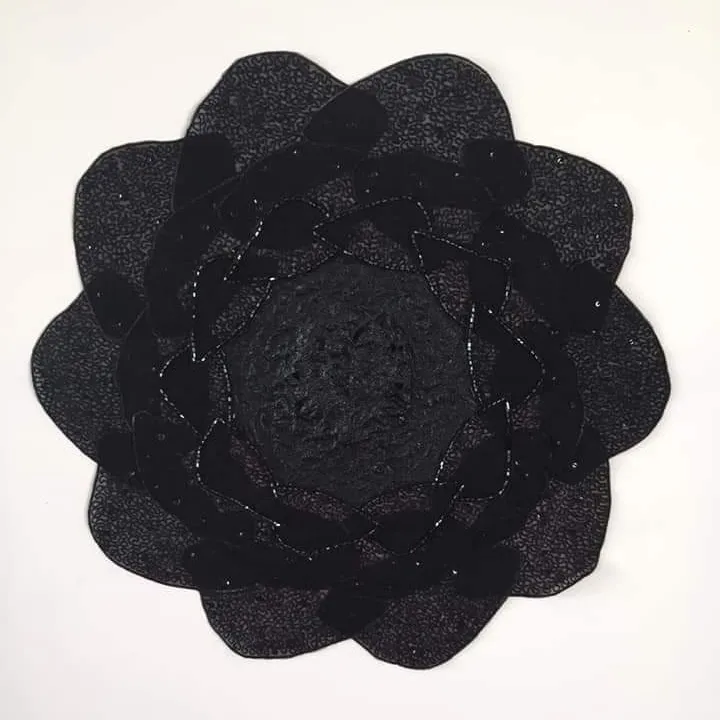
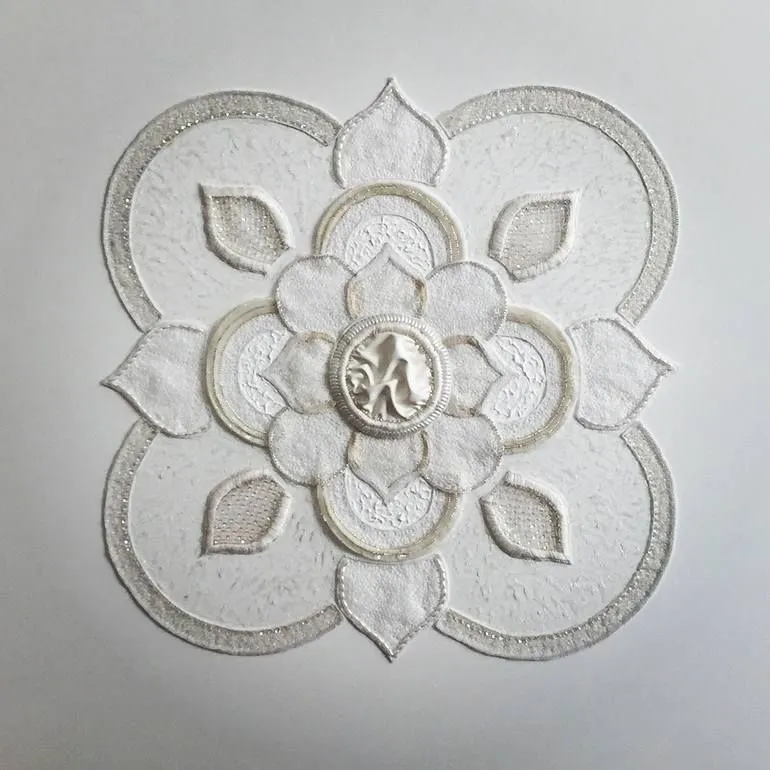
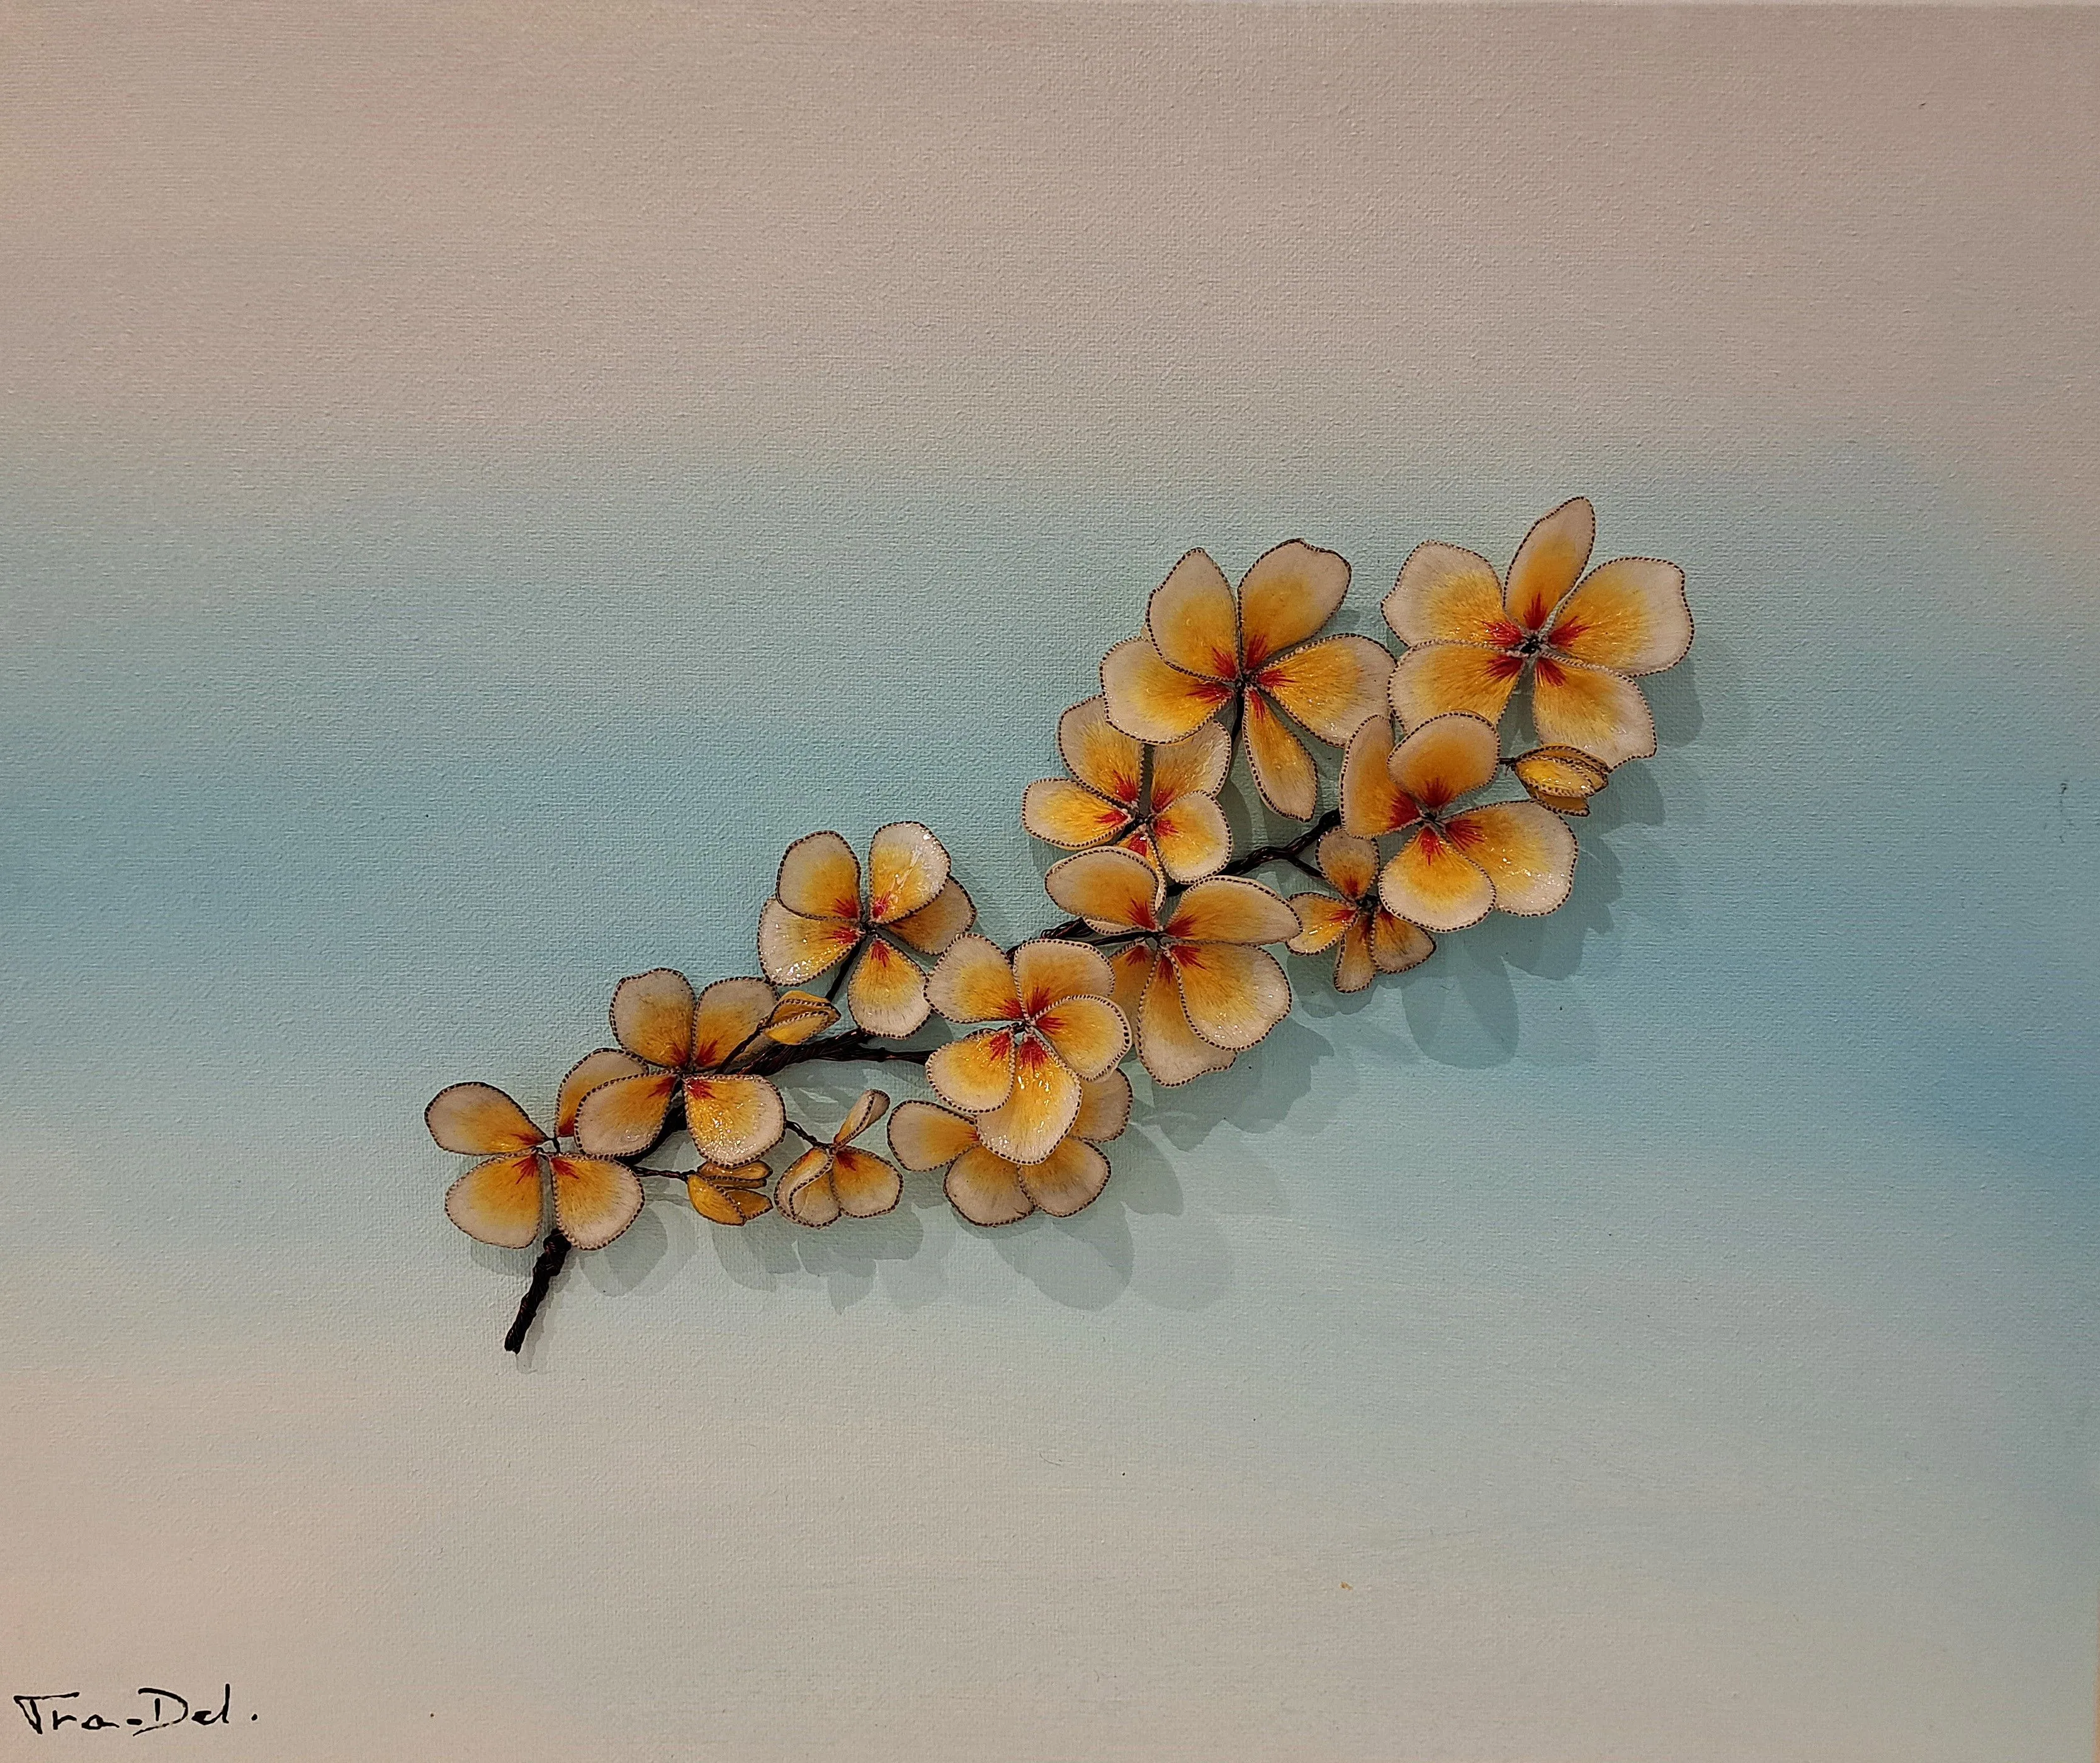
Historical stumpwork lived on caskets and mirror frames; today’s raised embroidery also lives on the wall, like a painting. That is my ground: I embroider directly on stretched canvas, without glass, so the relief keeps its shadow. The three crowns of petals of Fleur blanche stack in real thickness, the plumage of L’Aigle noir is embroidered strand by strand in depth, the varnished blooms of Frangipanier rose cast a shadow that moves with the sun, and the dozens of flowers of Arbre de vie are embroidered separately then sewn on one by one: the exact principle of the 17th-century slips. The gesture comes from the 17th century; the object hangs like a painting. For the question of hanging and glass, read the article How to frame embroidery.
Questions people ask
Why is raised embroidery called stumpwork? The word stumpwork only appears in the 19th century, long after the technique itself: in 17th-century England, people said raised work. It may come from the small wooden shapes (stumps) over which some motifs were padded, but the exact origin of the term is still debated by textile historians.
What is the difference between stumpwork and flat embroidery? Flat embroidery lays its stitches on the fabric, and the image stays in the plane. Stumpwork builds volume: padding, felt layers, elements mounted on wire or worked in needlelace, sometimes fully detached from the ground. The image casts a real shadow and changes with the angle you look at it from.
Which fabric should you use for stumpwork embroidery? For stumpwork embroidery, use a tight, strong ground fabric: heavy linen, dense cotton or canvas, often backed with a second fabric that absorbs the tension. The volume concentrates weight and pull on a few stitches; a loose ground puckers, distorts, and lets the raised elements sag over time.
How do you care for raised embroidery? Raised embroidery is cared for without contact: dusting with a breath of cool air or a very soft brush, never glass resting on the stitches, never direct sunlight. For framing, use a deep shadow box that leaves air above the volume, or a stretched canvas hung unprotected and dusted regularly.
The artist behind Fra-Del trained at the Lesage school in Paris and builds his relief work on stretched canvas, without glass. About Franck Delorme, embroidery artist →
The artworks that use this technique
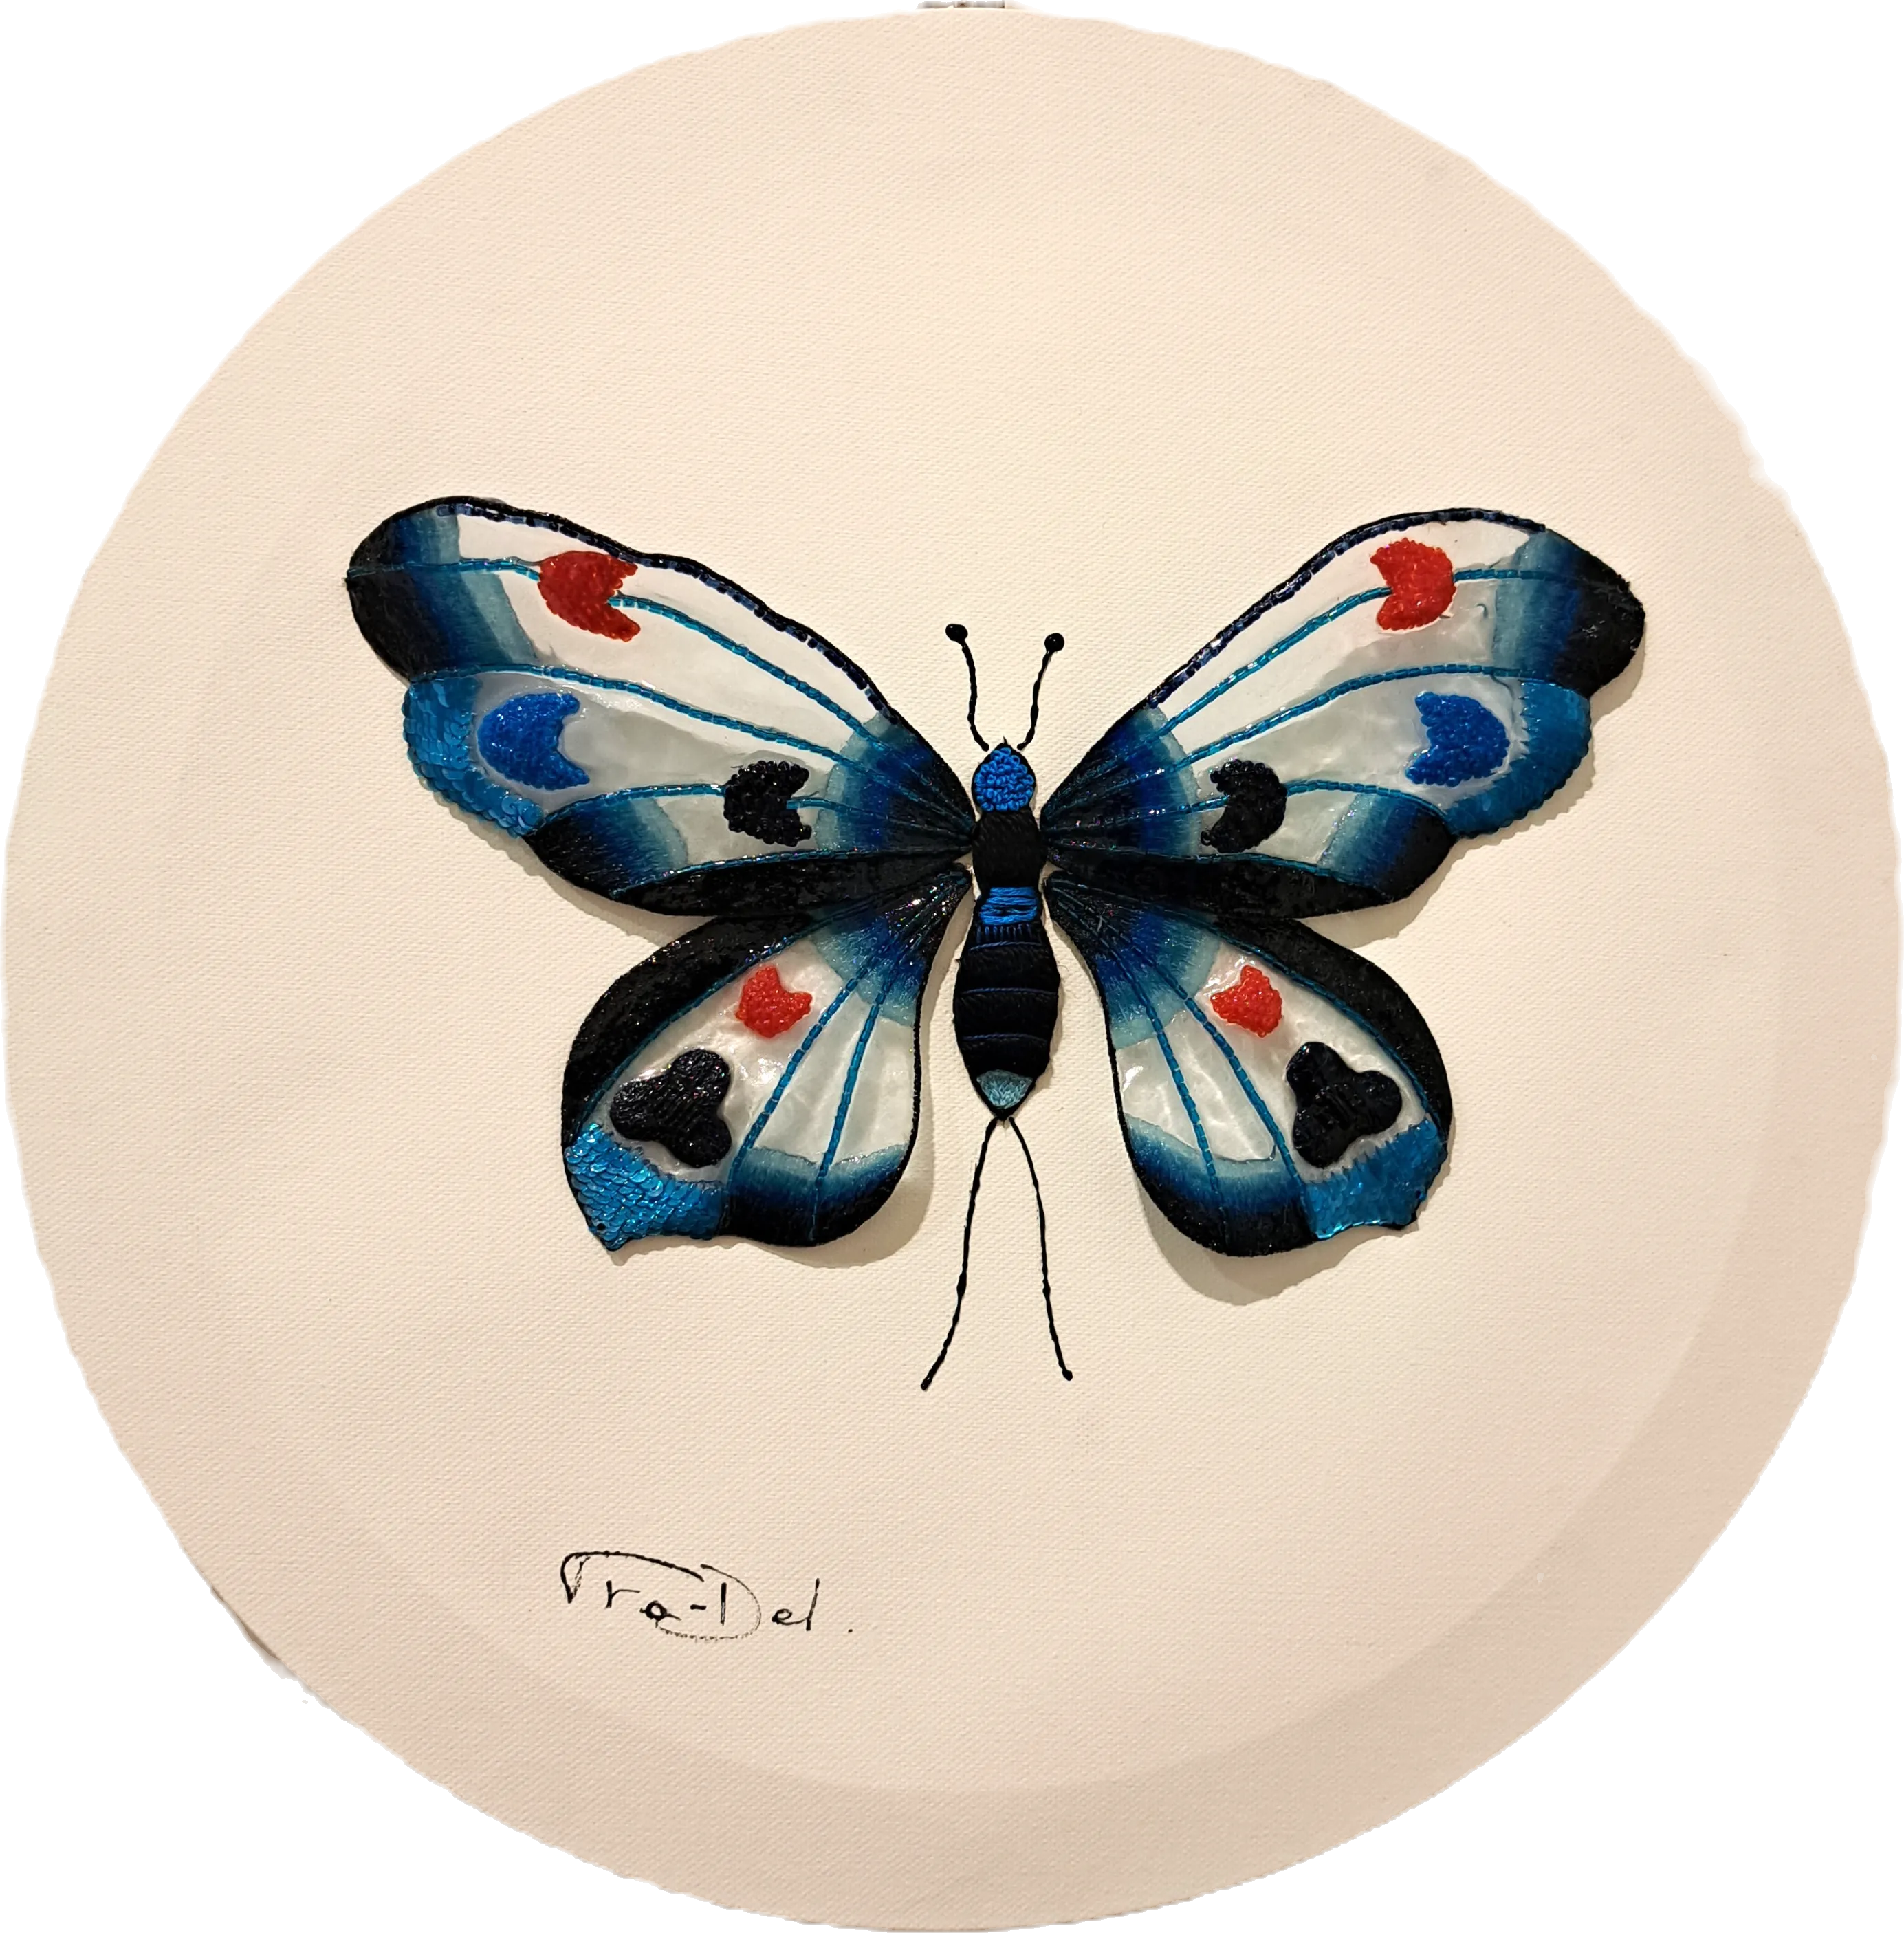
Discover the works to come
Leave your address and we will let you know whenever a new work is under way or finished.