How to frame embroidery: the five methods, from hoop to canvas
August 15, 2026
Contents
- The five ways to frame embroidery
- Preparing embroidery before framing
- The reference method: lacing over acid-free board
- Framing embroidery under glass, or not
- The hoop as a frame
- Stretched canvas: framing embroidery without a frame
- Having embroidery framed professionally
- Caring for framed embroidery
- Questions people ask
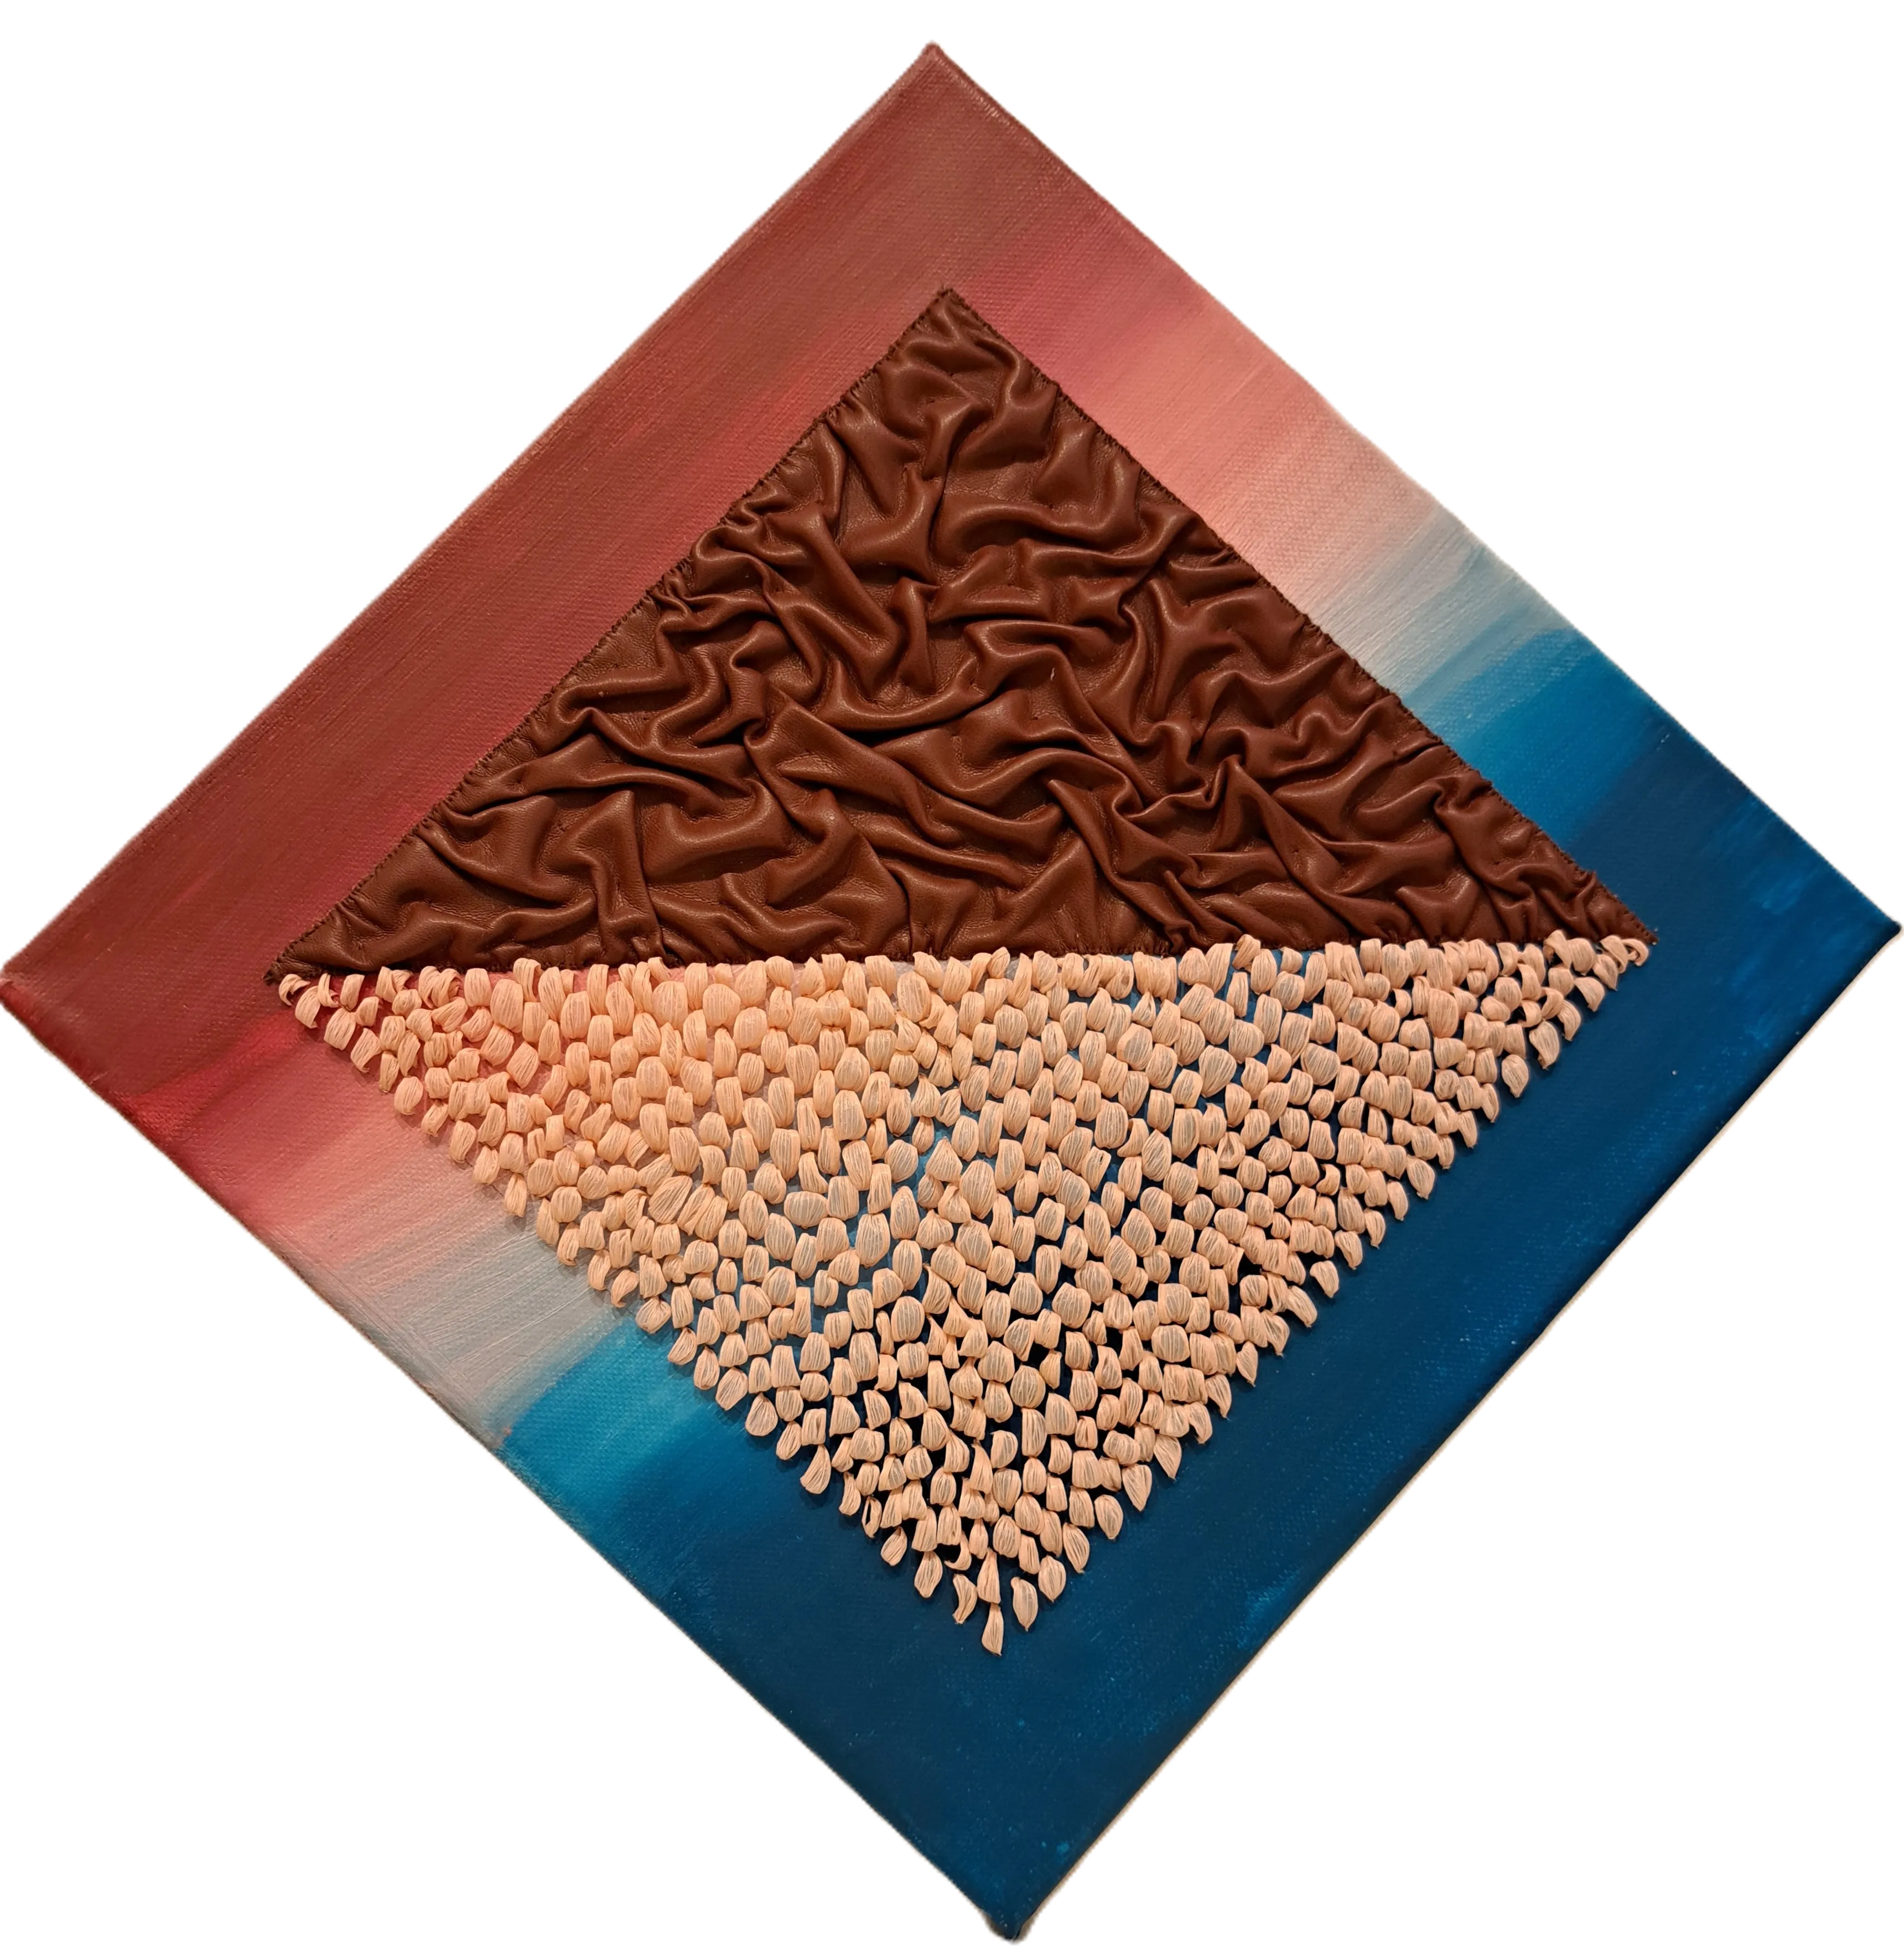
Embroidery takes weeks to make and will spend decades on a wall. Framing is therefore anything but an afterthought: it decides how much of the relief the eye will see, what the light will do to the threads, and what state the fabric will be in twenty years from now. Here are the five methods I know, their strengths, their traps, and how to choose yours.
The five ways to frame embroidery
| Method | Cost | Reversible | Conservation | Best for |
|---|---|---|---|---|
| The hoop kept as a frame | almost none | yes | fair | Small motifs, studio spirit |
| Lacing over acid-free board + frame | moderate | yes | excellent | The reference method, any size |
| Self-adhesive mounting board | low | no | fair | Quick fixes, never for a valuable piece |
| Stretched canvas | moderate | depends on the mounting | good | Raised embroidery, hanging without glass |
| A professional framer | high | insist on it | excellent | Large, precious or fragile pieces |
A word on the one I almost always rule out: self-adhesive board. It bonds the fabric permanently; the day the embroidery needs to be dismounted, cleaned or remounted, it is too late. The other four methods can be undone; that one cannot.
Preparing embroidery before framing
Nothing should be framed dirty or creased. Three steps first:
- Wash, if the materials allow it. Lukewarm water, very mild soap, no rubbing, dried flat on a towel. Careful: metallic threads, glued beads and some dyes do not wash; when in doubt, dust only.
- Iron from the back, the embroidery laid face down on a thick towel or batting: the relief of the stitches sinks into the softness instead of being crushed by the soleplate.
- Check the grain. Fabric mounted off-grain shows forever; the weft lines must run parallel to the edges of the mount.
The reference method: lacing over acid-free board
This is the method of studios and museums, and it needs nothing more than a needle and strong thread.
- Cut a piece of conservation board (acid-free, from an art supply shop) to the size of the frame’s window, minus two millimetres.
- Centre the embroidery on it, guided by the fabric grain, and pin it temporarily with pins pushed into the edge of the board.
- Fold the fabric edges to the back, then lace with strong cotton thread, in a zigzag, top to bottom first, then side to side, the way you lace a shoe. Tighten gradually, in passes, until the front is taut without distorting the stitches.
- Fold the corners flat, like a parcel, and sew them down.
Why lacing wins: the tension can be adjusted thread by thread, the fabric touches no glue, and everything is reversible. Cut the lacing in ten years and the embroidery comes out intact.
Framing embroidery under glass, or not
The real question, which almost nobody asks. Glass gives three things: a barrier against dust and fingers, UV protection if the glass is treated, and a “painting” finish. It takes three things in exchange: reflections that stand between the eye and the thread, a risk of condensation if the frame is sealed and the wall damp, and above all the visual flattening of the relief. An embroidery stitch exists only through the tiny shadow it casts; behind glass, that shadow disappears.
The rules I apply:
- Never let glass touch the stitches. If there is glass, there must be air: spacers, a double mat or a deep box (a shadow box).
- Strongly raised embroidery, beads, feathers, mixed materials: no glass, or a genuinely deep box. That covers everything I make.
- Flat embroidery headed for a kitchen, a smoky or busy room: glass, with spacers, and UV-treated if the room is bright.
- A generous budget and an important piece: museum glass, anti-reflective and UV-filtering, reconciles almost everything, at a price to discuss with the framer.
My studio position, you know it if you have read the article on contemporary embroidery: my canvases live without glass, so that raking light can do its work on the stitches. It is an exhibition choice, with its maintenance counterpart, described below.
The hoop as a frame
The embroidery hoop can become the final frame, and it is the fastest way to finish a small motif. Re-tension the fabric one last time, trim the excess leaving three or four centimetres, gather that excess with strong thread behind the inner ring, pull tight, knot. Then sew a circle of felt to the back to hide the reverse and protect the wall.
Two honest caveats: the wood of a hoop is not a conservation material, and the permanent tension marks the fabric over the years. For a motif you will love for ten years, it is perfect; for a piece you want to pass on, choose lacing.
Stretched canvas: framing embroidery without a frame
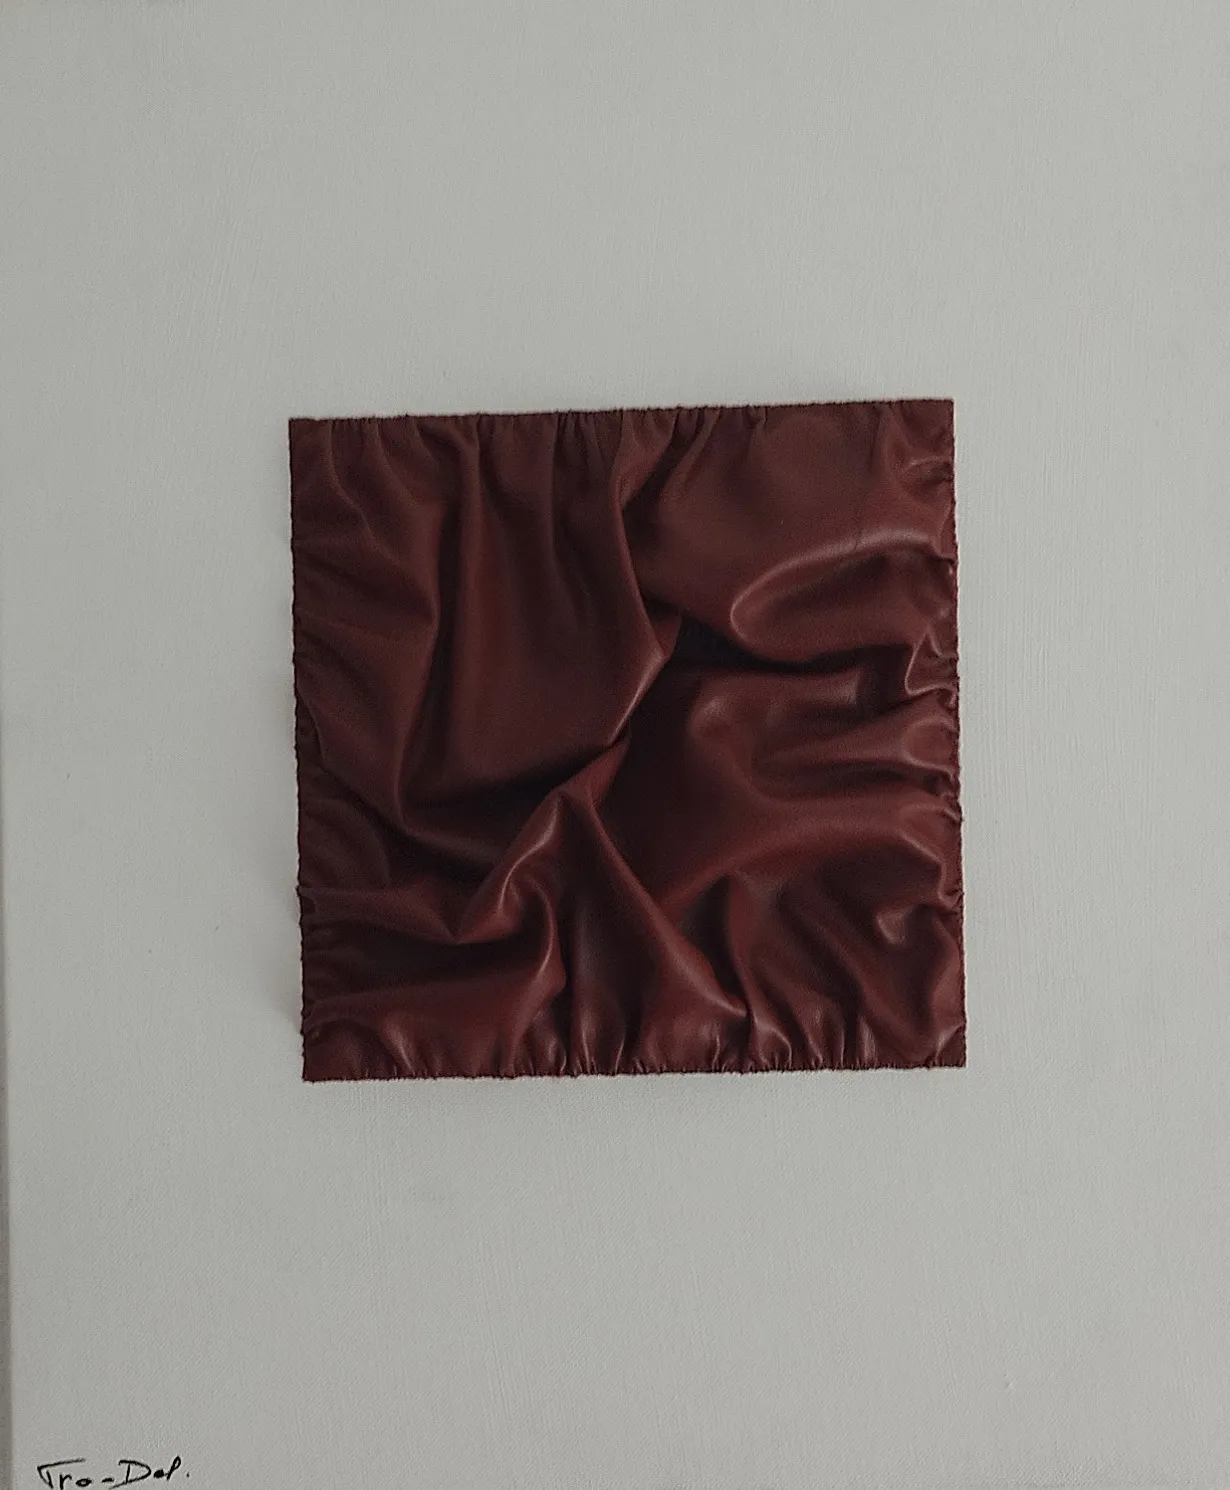
Two paths lead to the stretcher. The first: mounting a finished embroidery by stretching it over a canvas stretcher, the way a painter’s canvas is stretched, stapled at the back with folded corners. The second, which is my own practice: embroidering directly on the stretched canvas, so the work is born framed, ready to hang, with no glass and no moulding. Every piece on this site is made that way, from Odile to the leather squares.
The advantage is double: the relief stays in open air, alive under the light, and the embroidery reads like a painting, at the height of an artwork rather than of needlework. The counterpart: the fabric must be strong enough for the tension, and the piece accepts living unprotected.
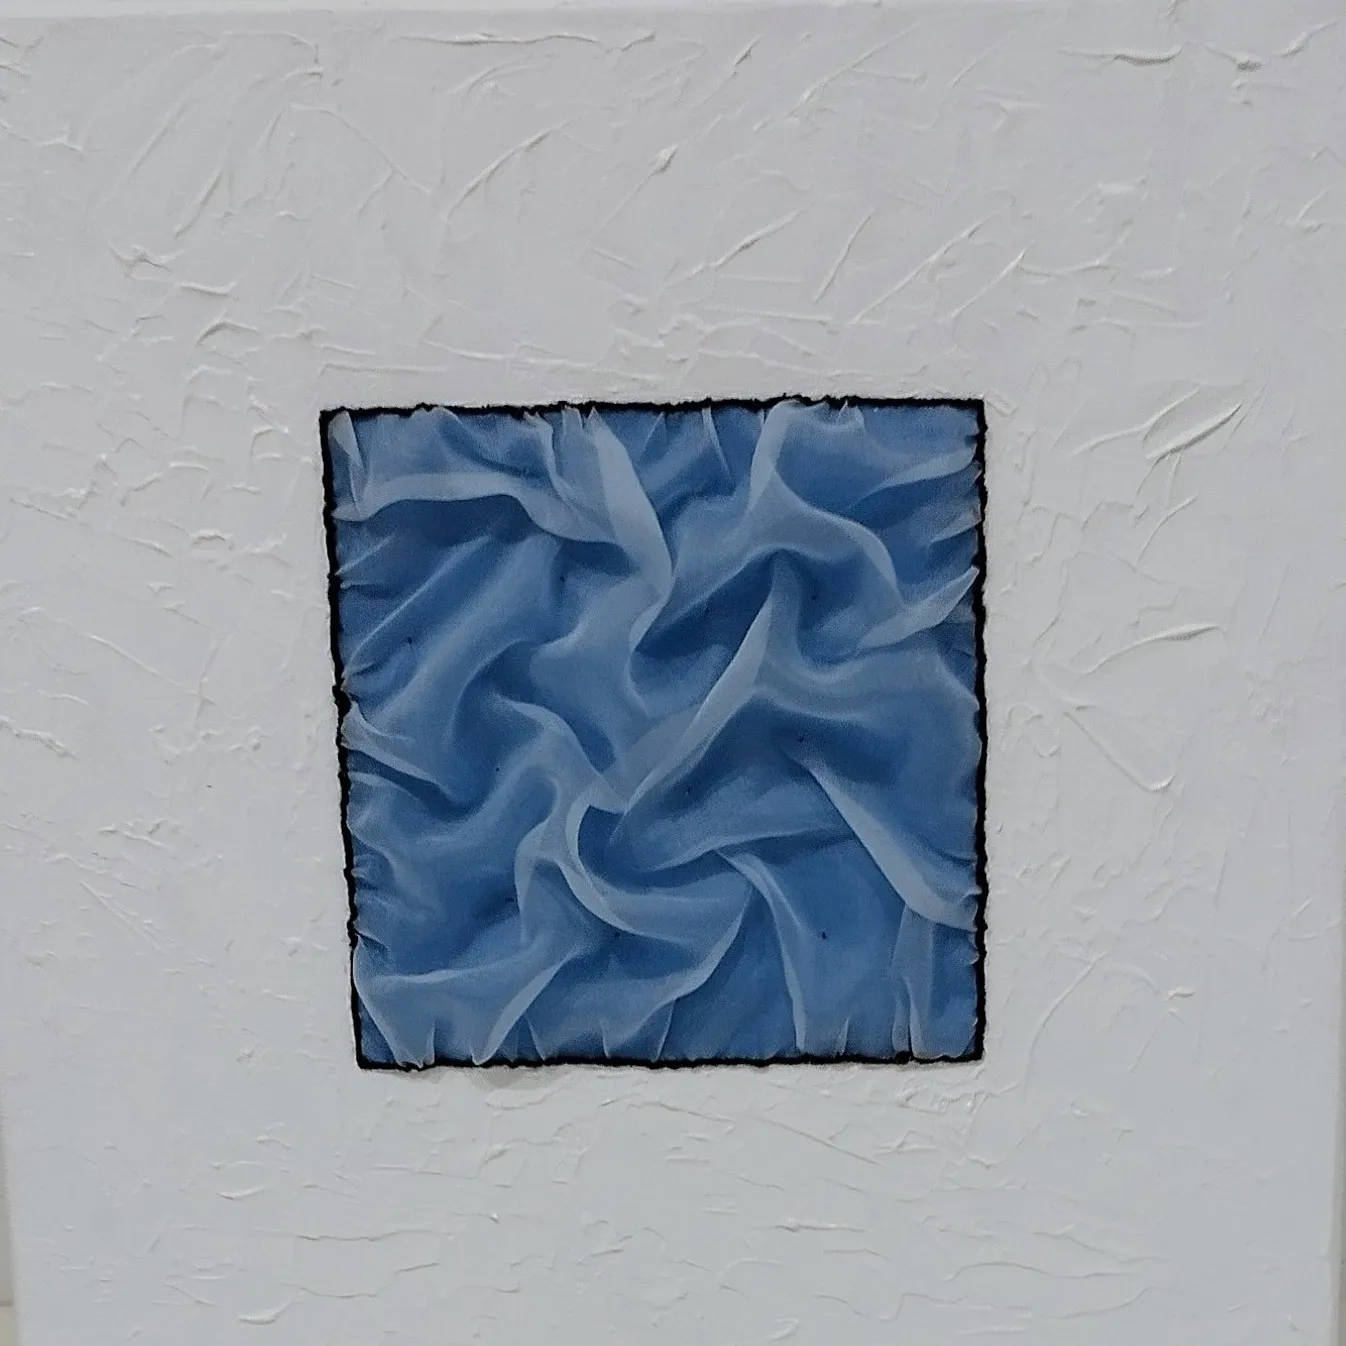
A stretched canvas, no frame and no glass
Having embroidery framed professionally
For a large format, a valuable piece or fragile materials, a framer is a good investment, on one condition: knowing what to ask for. Insist on a reversible mounting (lacing or mounting strips, never gluing or heat mounting), acid-free boards and mats, spacers if there is glass, and UV-treated glass for an exposed wall. A good framer will offer all of this unprompted; that is precisely how you recognise one. Expect anywhere from a few tens to a few hundreds of euros depending on the size and the glass.
Caring for framed embroidery
Care comes down to a few gestures, and the first is a non-gesture: no direct sunlight, ever, whatever the framing method. Direct light fades threads more surely than the years do.
- Without glass: dusting once or twice a year, a very soft brush or a breath of cool air, never rubbing. No damp wall, no radiator underneath.
- Under glass: clean the pane by spraying the product onto the cloth, never towards the frame, so no drop can migrate to the fabric.
- If there is a stain: attempt nothing on the threads yourself; a textile professional will do in an hour what an amateur’s rubbing destroys in a minute.
Questions people ask
Should embroidery be framed under glass? Not always: glass protects from dust and UV, but it creates reflections and visually flattens the relief of the stitches. Flat embroidery in a dusty room: glass with spacers, never touching the threads. Raised embroidery: a deep shadow box or no glass at all, with a gentle dusting from time to time.
How do you frame embroidery in a hoop? To frame embroidery in a hoop, re-tension the fabric, trim the excess leaving a few centimetres, gather that excess with thread behind the inner ring, then sew on a felt back. It is the simplest and fastest method, perfect for small motifs, less good for long-term conservation.
Can you frame embroidery with ordinary cardboard? No: ordinary cardboard is acidic. Over the years it yellows the fabric and weakens the fibres, and that damage is irreversible. Use acid-free conservation board, sold in art supply shops, for any mounting. The price difference is small; the difference in ten years is permanent.
How do you clean framed embroidery? Framed embroidery without glass is cleaned by gentle dusting: a soft brush or cool air, once or twice a year, never any product. Under glass, clean the pane by spraying the product onto the cloth, never towards the frame. If the threads are stained, do not rub: take the piece to a textile professional.
The artist behind Fra-Del trained at the Lesage school in Paris and embroiders on stretched canvas, without glass. About Franck Delorme, embroidery artist →
The artworks that use this technique
Discover the works to come
Leave your address and we will let you know whenever a new work is under way or finished.