Thread painting and needle painting: how the shading actually works
August 8, 2026
Contents
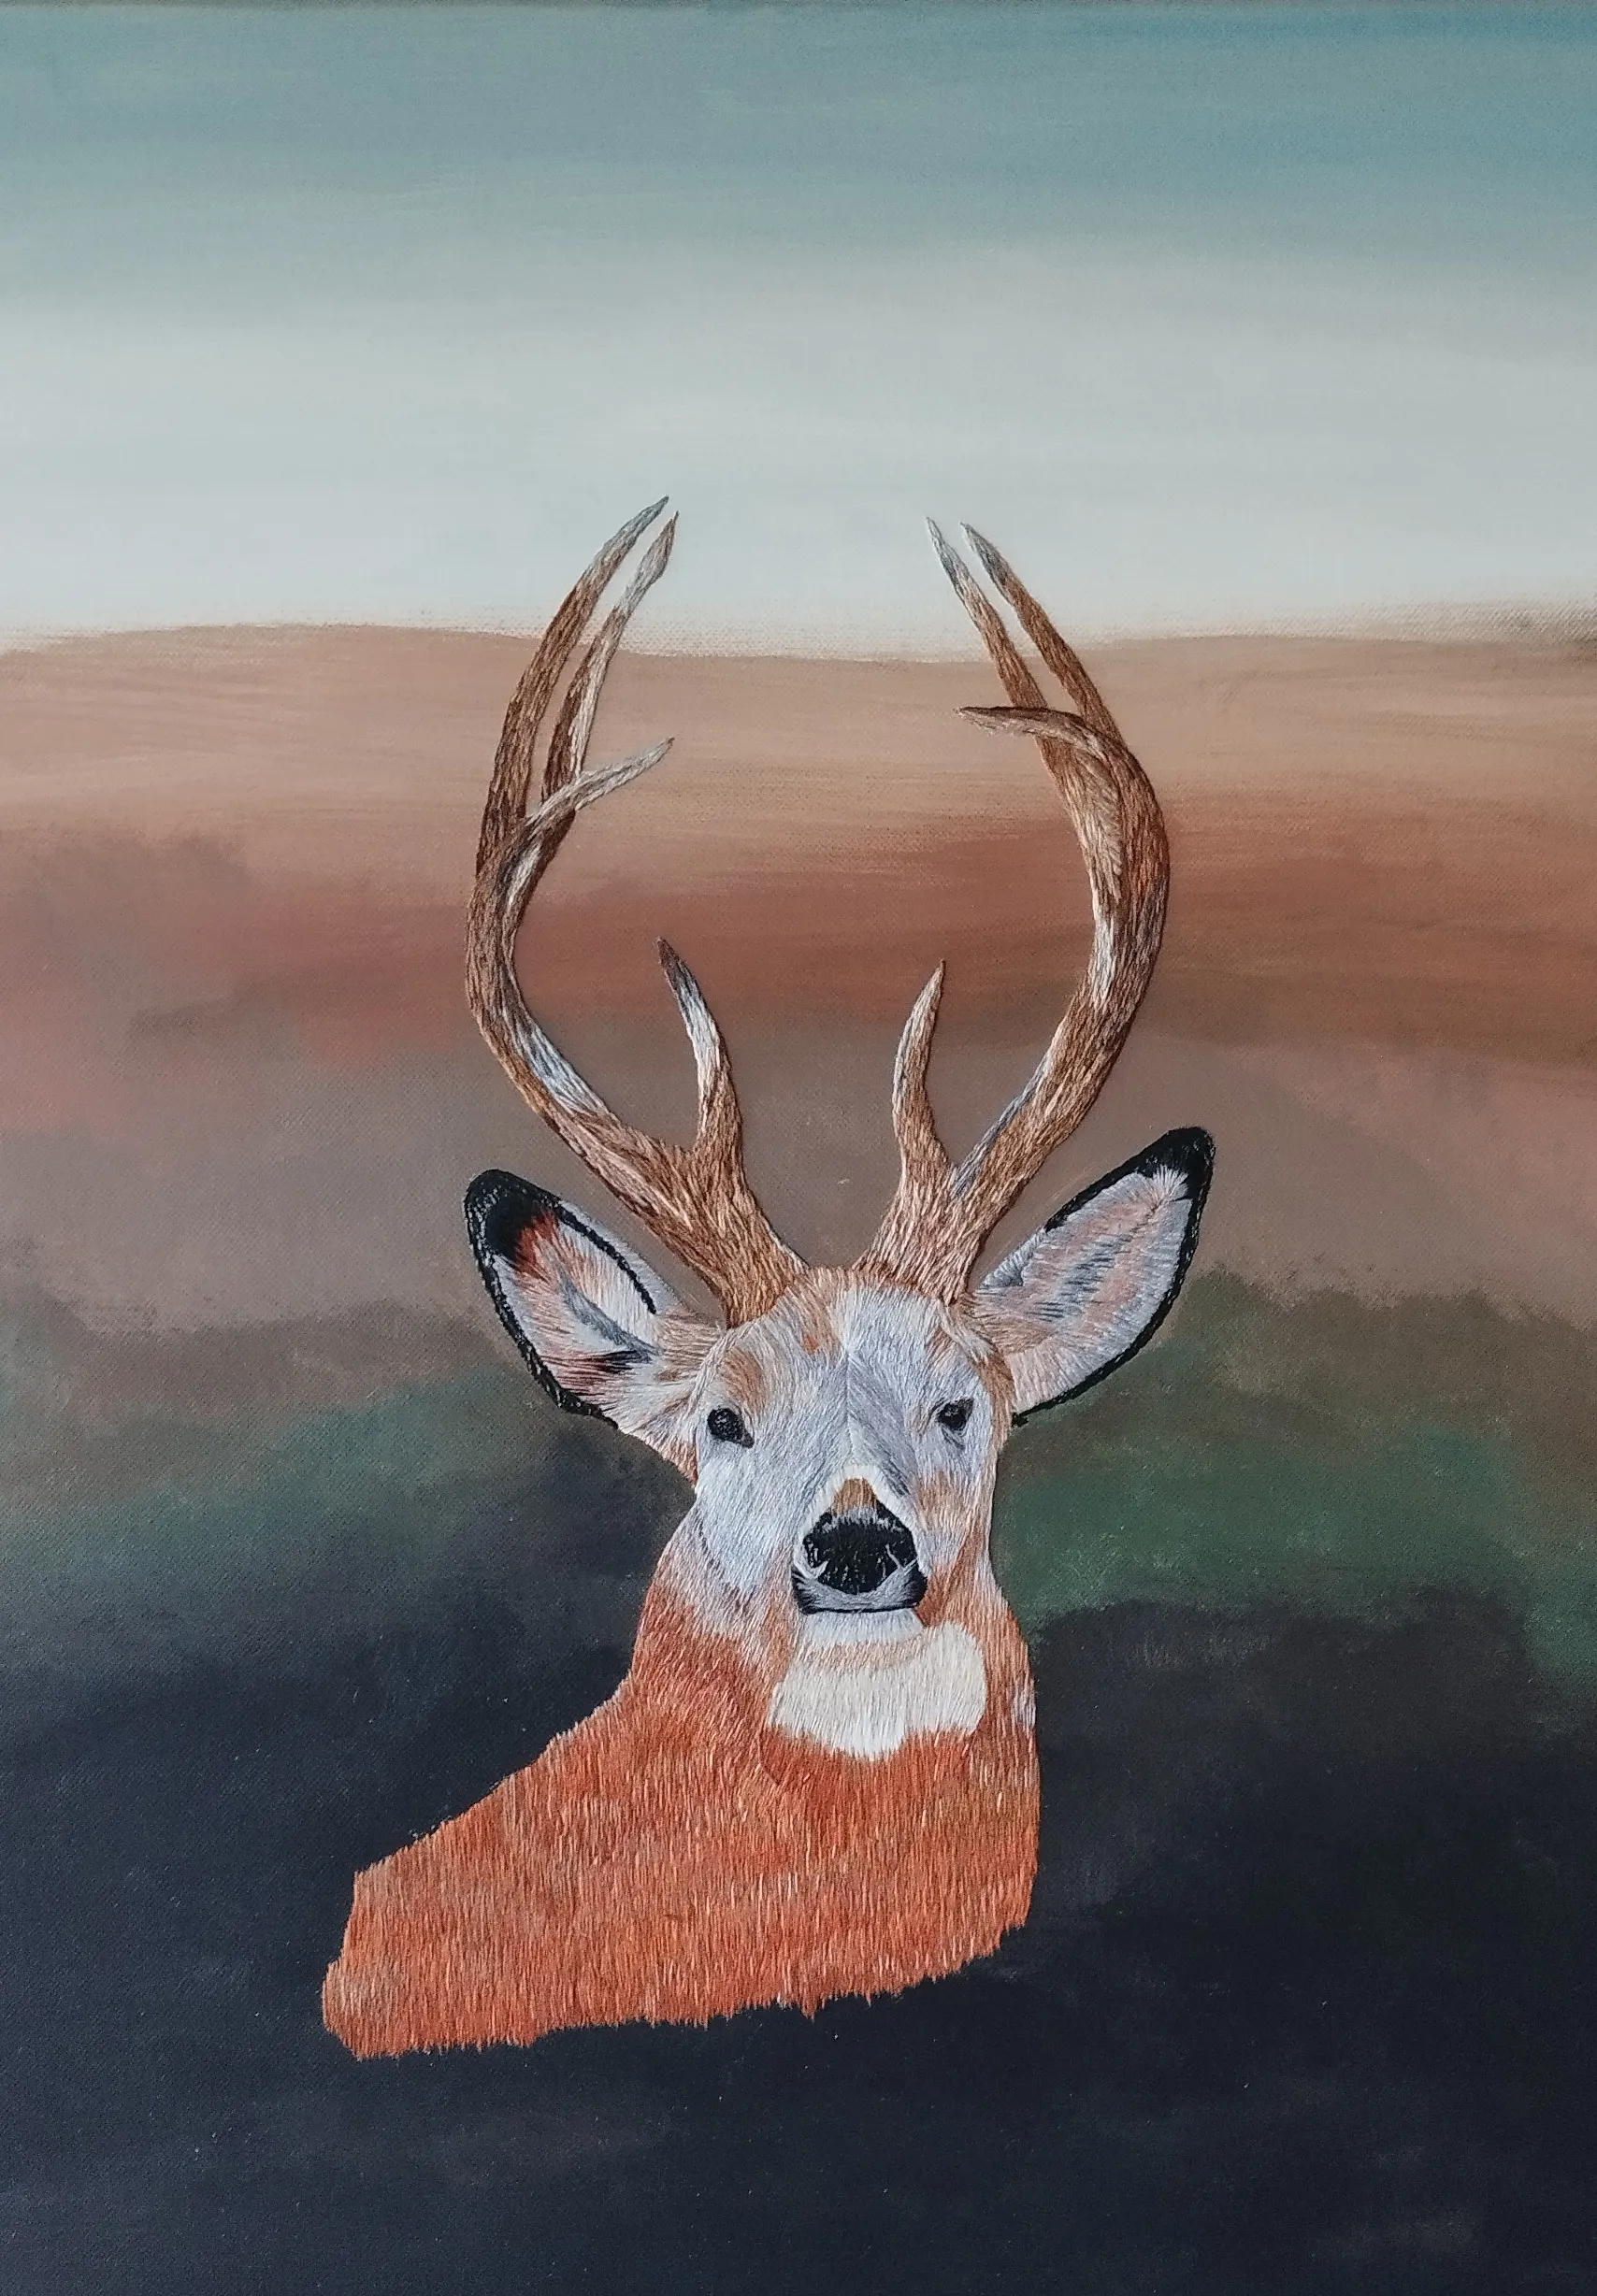
Seen from three steps away, my canvas Chevreuil looks painted: a roe deer in soft gradients from cream to brown. Step closer and the surface breaks into thousands of individual threads. There is no paint in the fur, only cotton and silk laid in one direction, one strand at a time. The whole illusion rests on a single stitch, and on a handful of rules about how to place it.
That stitch has collected an unreasonable number of names over the centuries, which is where the confusion usually starts.
The four names of needle painting
| Name | Where it comes from | What it refers to |
|---|---|---|
| Long and short stitch | The stitch itself, named for its alternating lengths | The building block, not the style. In French: passé empiétant, the “encroaching stitch” |
| Silk shading | The historical and Royal School of Needlework name, from the fine silk it was worked in | The technique: realistic gradients in thread |
| Needle painting | The painter’s metaphor, standard in books and in French (peinture à l’aiguille) | The same technique |
| Thread painting | The modern, social-media-era name, usually cotton floss | The same technique again |
So the answer to the question every beginner asks: yes, these are the same thing. One stitch family, one method, four labels from different eras and materials. The only boundary worth knowing is the purist one: in true needle painting the fabric is fully covered and the color transitions are invisible. Work where the ground shows through, or where each color stops at a clean line, belongs to other styles of embroidery.
How to build a gradient in thread painting
Most explanations stop at “alternate long and short stitches.” That describes the first row and nothing else, and the first row is the least important part. Here is the whole system, in the order it happens.
1. Outline first, in split stitch. Before any shading, the shape’s edge is drawn in fine split stitch. The shading stitches will be worked over this rim. It has two jobs: it gives the edge a slight raise, so the shape stands off the fabric, and it gives the first row something to wrap over, which is what makes an edge look cut rather than fringed. Skipping it is the most common invisible mistake: everything after it will look soft and ragged and you will not know why.
2. Draw the direction lines. Stitches in needle painting are not vertical or horizontal. They follow the form: radiating from the base of a petal, flowing along a bird’s body, turning with the muscle of an animal. Draw these lines on the fabric before threading a needle, the way a sculptor marks the grain. Every stitch you place will be checked against them. A gradient with the wrong direction reads as wrong even when the colors are perfect, because light in nature falls along the form, not across it.
3. First row: long and short, over the outline. Along the edge, alternate one long stitch and one short one, worked over the split-stitch rim. The alternation is not decorative. It creates a staggered inner boundary, and that stagger is what every following row will blend into. Resist the urge to make it tidy: a too-regular first row produces a too-regular second row, and the striping begins there.
4. Every following row: all long, pierced into the row above. From the second row on, the stitches are all roughly the same length. Each one comes up through the stitches of the previous row, piercing them about a third of the way down, and goes down into open fabric. This is the detail almost nobody explains, and it is the entire secret of the blend: because each new stitch splits into the old row rather than starting below it, there is no seam between the rows. The French name says it plainly: passé empiétant, the stitch that encroaches.
5. Change value with the rows. Each row is worked in the next shade of your gradient, from the edge color toward the center. Because the row boundaries are staggered and pierced, the eye cannot find where one shade ends and the next begins.
That is the machine. Rows of encroaching stitches, direction ruled by the form, value changing as the rows advance. Everything else, including talent, is placement.
Choosing the shades for needle painting
Color choices sink more first projects than stitching does. The working method is short:
- Three to five close shades per element. One petal or one wing does not need ten colors; it needs a few neighbors on the same value ladder. Big jumps between shades read as stripes no matter how good the stitching is. Close shades forgive.
- Decide the light before the needle. Mark on your design where the light comes from, and which zones are highlight, midtone and shadow. Shading is a value decision made in advance, not a color improvised row by row.
- One strand, always. A single strand of cotton or silk is what allows rows to pierce into each other cleanly. Two strands twist around each other and sit up from the fabric, and the surface turns rough.
- Test at the edge. Stitch a few centimetres of each shade sequence on the margin of your fabric before committing. Thread colors lie on the skein; they only tell the truth next to each other, in stitches.
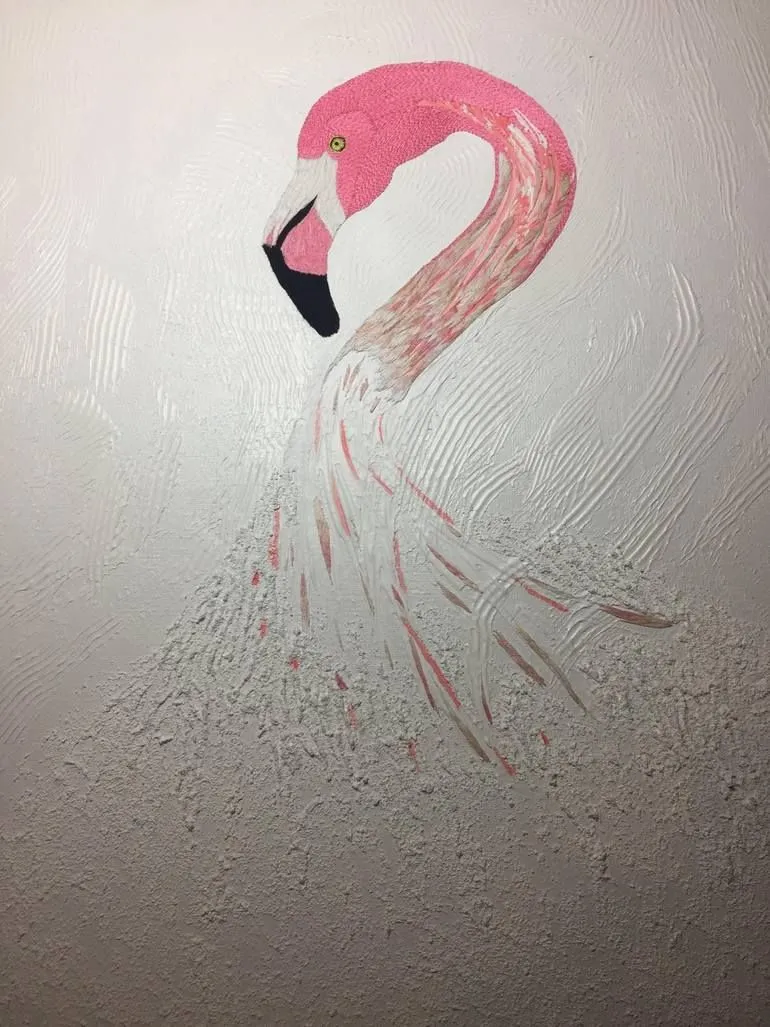
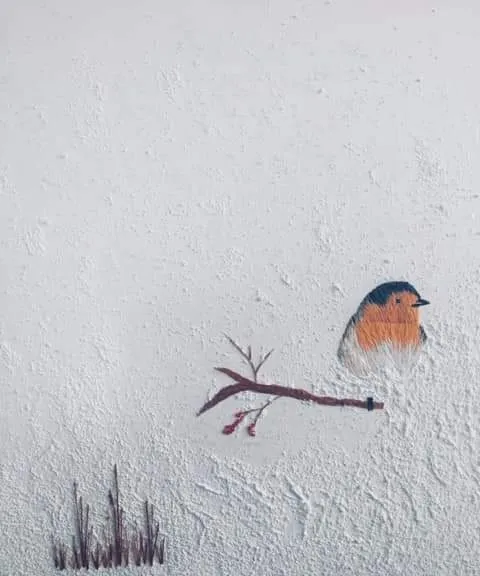
Saint-Saëns: the top is embroidered, the bottom becomes paint
Common mistakes in needle painting
The failures of needle painting are few and they repeat, so they are worth naming.
- Banding. Rows visible as stripes. Cause: stitch lengths too regular and rows starting where the previous one ended instead of piercing into it. Fix: vary the lengths deliberately and come up higher, inside the old row.
- Direction drift. Stitches that start following the form and slowly go parallel. Check against the drawn direction lines every few stitches; the hand drifts toward comfort.
- Fabric showing through. Under-filled rows. The technique covers completely; if the ground winks through, the rows are too far apart.
- Slack fabric. The ground must be drum-tight in the hoop or frame, and stay tight. On a slack ground the stitch tension varies and the surface puckers when released.
- Wrong ground. A tightly woven cotton or linen. Never Aida: its grid dictates where stitches can land, and this technique needs to land anywhere.
- Too large a first project. A single leaf or petal of five or six centimetres teaches everything. A full bird teaches the same lessons, months later, with more occasions to give up.
Expect a first honest attempt to take a few evenings for one small element, and expect the third attempt to be visibly better than the first. This technique improves by repetition faster than almost any other embroidery, because it is one gesture, judged constantly by eye.
Needle painting in my work
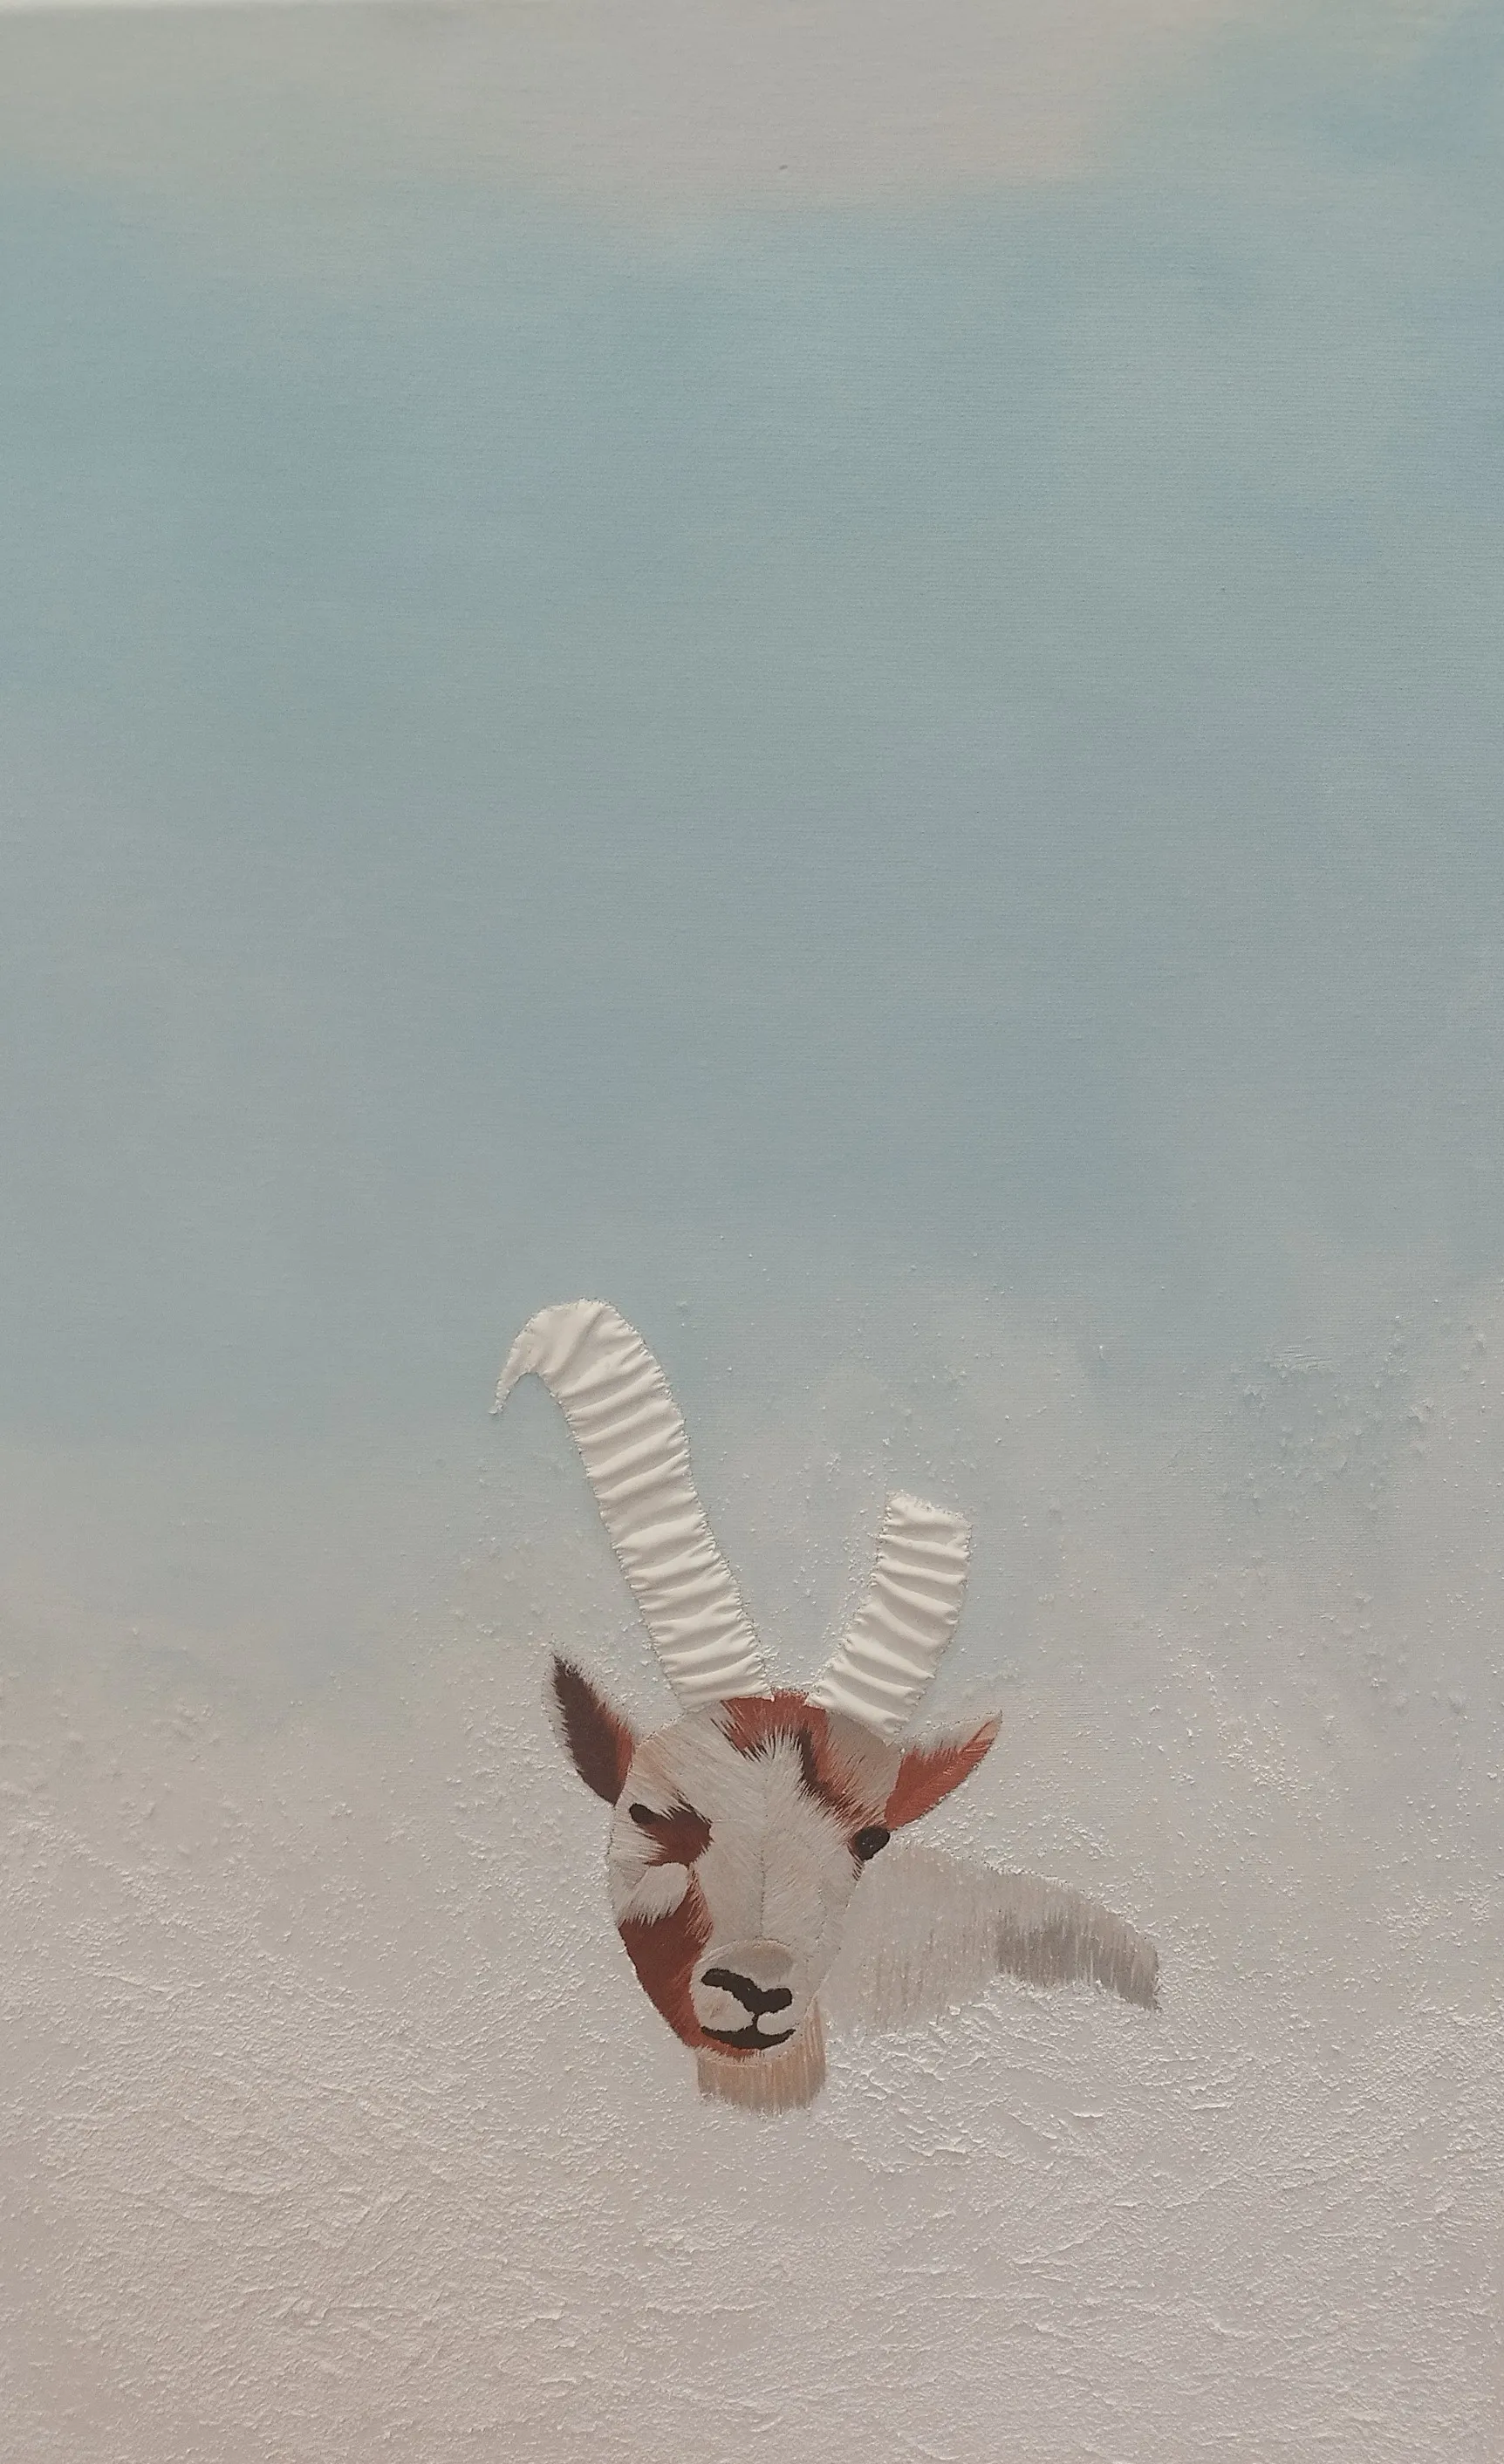
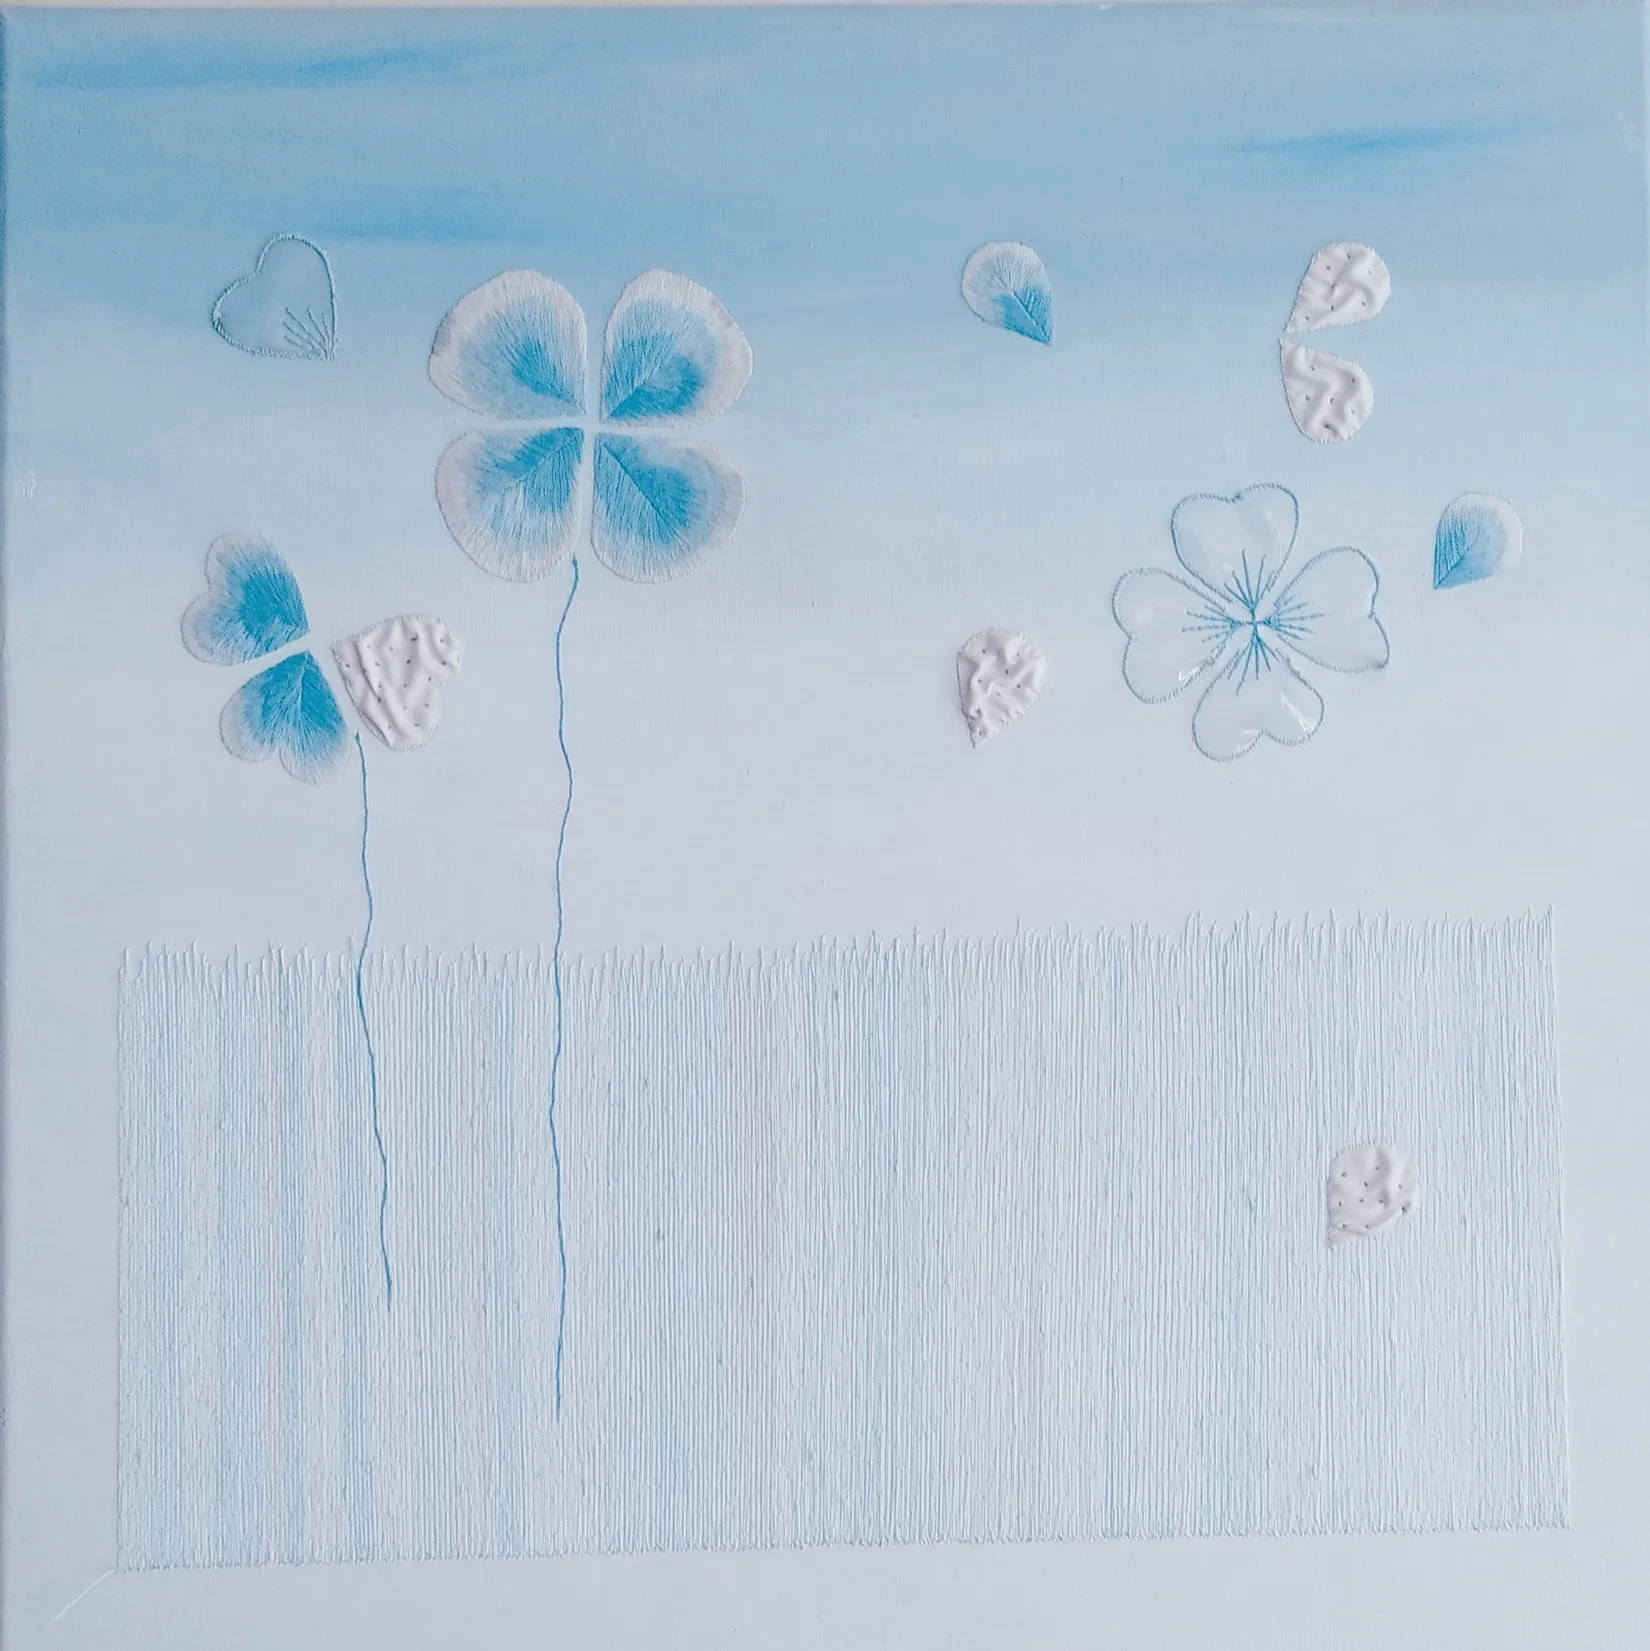
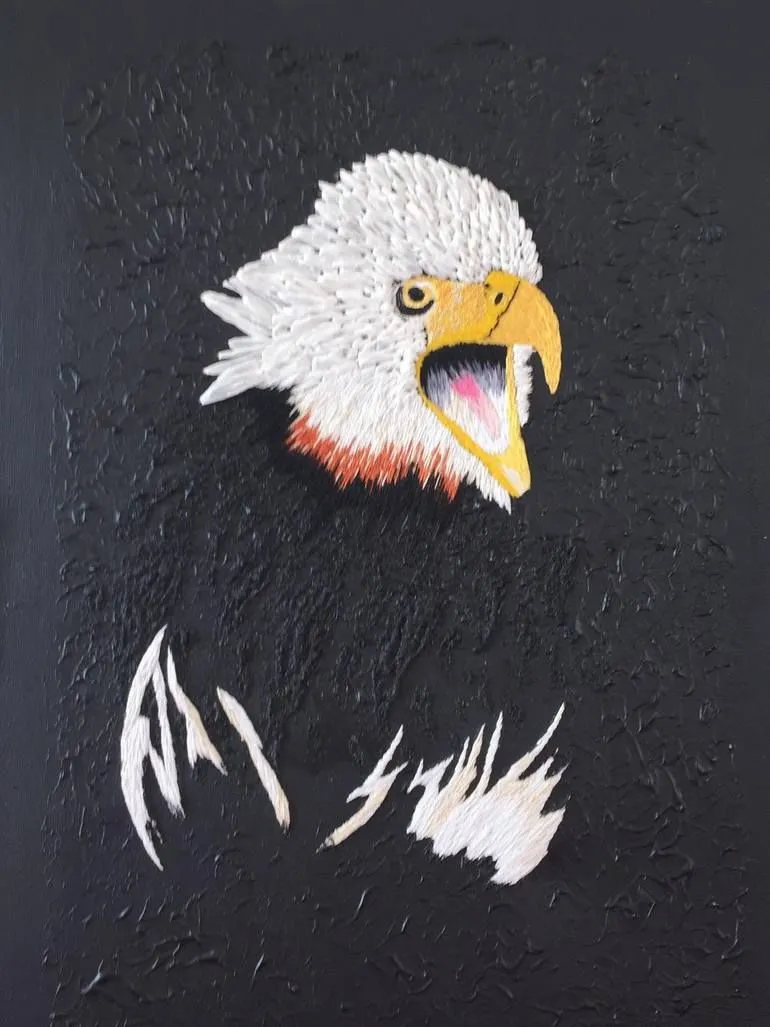
Almost everything with fur or feathers on this site is needle painting: the deer of Chevreuil, the ibex of Bouquetin, the owl of Edwige, the pink gradients of Flamant corail. I work it on stretched painter’s canvas rather than fine linen, and often beside its opposite: the Lunéville hook, which builds fast, regular chains, where needle painting builds slow, irregular blends. The two temperaments on one canvas, chain against gradient, is much of what I am after.
Canvas changes the stitch less than you would expect. The weave is coarser, so the very finest silk transitions are out of reach, and I accept slightly bolder gradients in exchange for a surface that hangs like a painting. On fine linen my blends would be smoother; I am not sure they would be more alive.
Questions people ask
Are needle painting and thread painting the same thing? Yes, needle painting and thread painting are the same thing, along with silk shading and soft shading: realistic gradients built almost entirely from long and short stitch. The four names come from different eras and materials, not from different methods, and the method itself has barely changed in centuries.
Why does my thread painting shading look striped? Thread painting shading turns striped when the rows are too regular. If every stitch in a row has the same length and each row starts where the last one ended, the boundaries line up and read as bands. Vary the stitch lengths and pierce the previous row’s stitches at staggered depths.
How many shades do I need for a needle painting gradient? A needle painting gradient needs three to five close shades per element, worked one strand at a time. Big jumps in value read as stripes no matter how well you stitch, while close neighboring shades blend into each other even when the stitching itself is far from perfect.
Which direction should long and short stitches go? Long and short stitches follow the form: along the growth of a petal, the lie of the fur, the flow of the feather. Draw direction lines on the fabric before stitching and check every stitch against them. A wrong direction breaks the illusion faster than a wrong color does.
The artist behind Fra-Del trained at École Lesage in Paris and works needle painting, Lunéville crochet and gold thread on canvas. About Franck Delorme, embroidery artist →
The artworks that use this technique
Discover the works to come
Leave your address and we will let you know whenever a new work is under way or finished.